I recently had a lot of success repairing the rack mount points on one of my bikes seat stays using this method, but found few sources initially that actually showed its usage on bicycles. So I decided to do a little write up in case the example proves useful to others as this seems to me to be a not uncommon problem encountered by bike owners that like using racks.
The Story
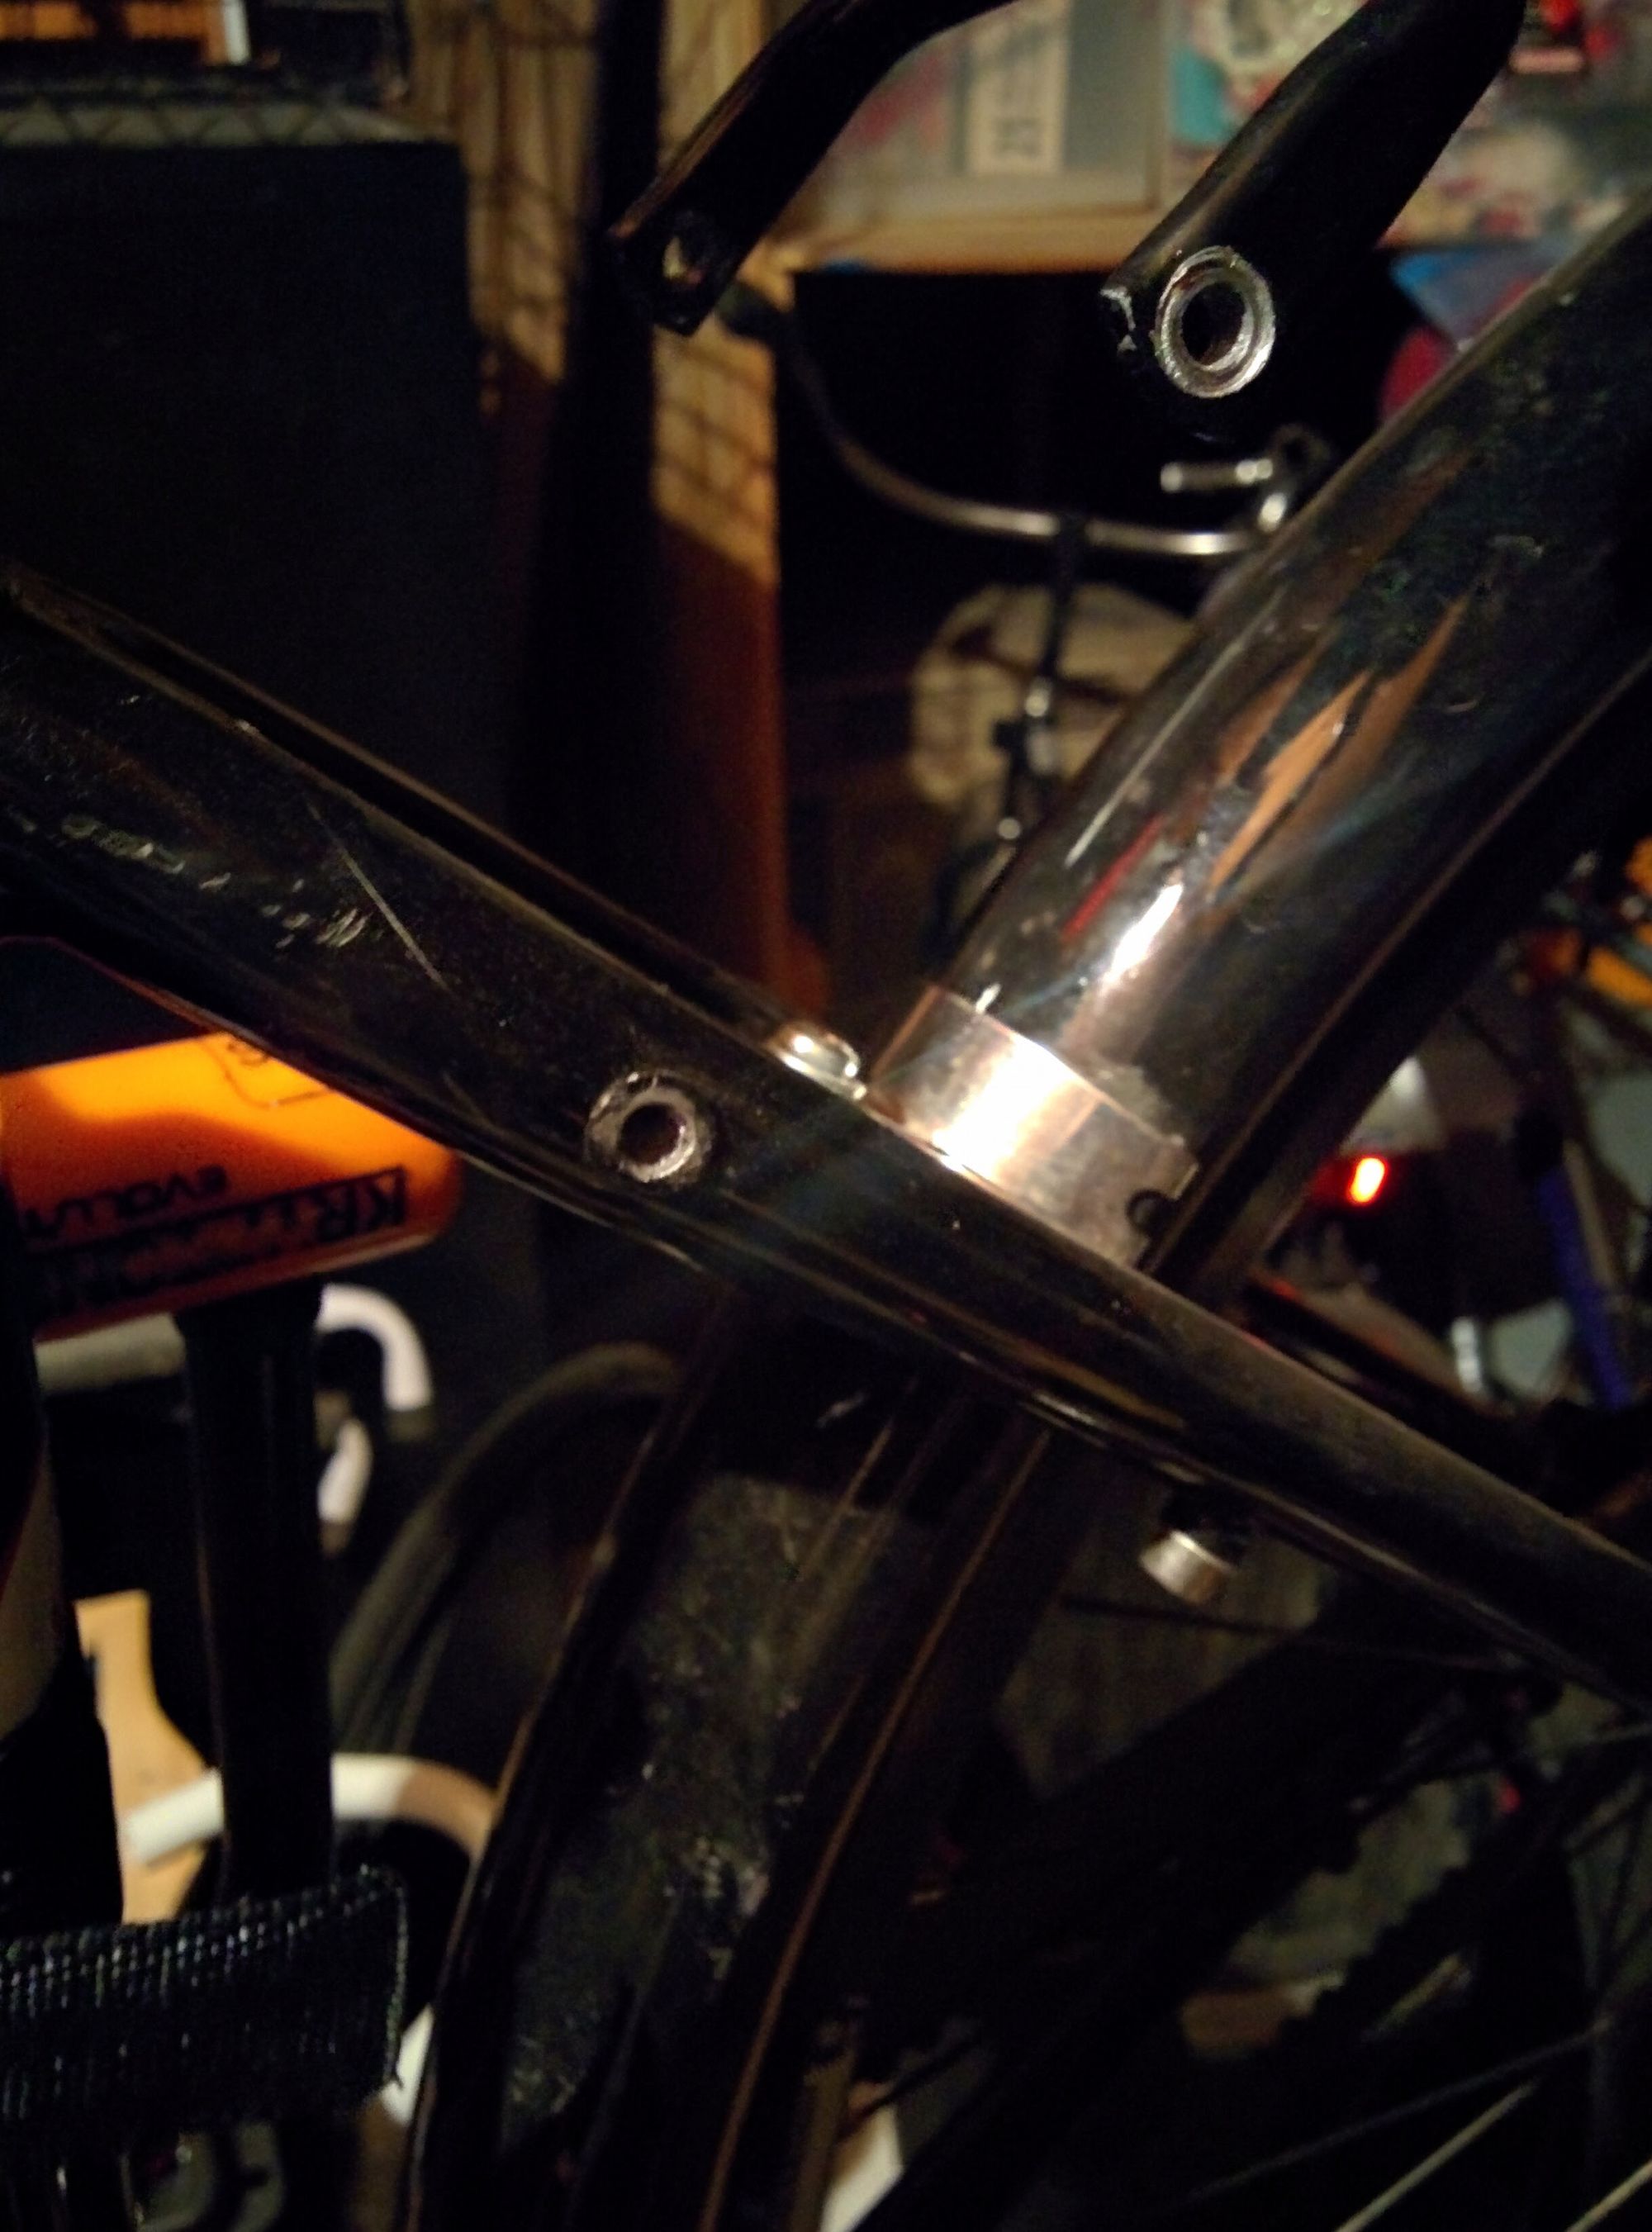
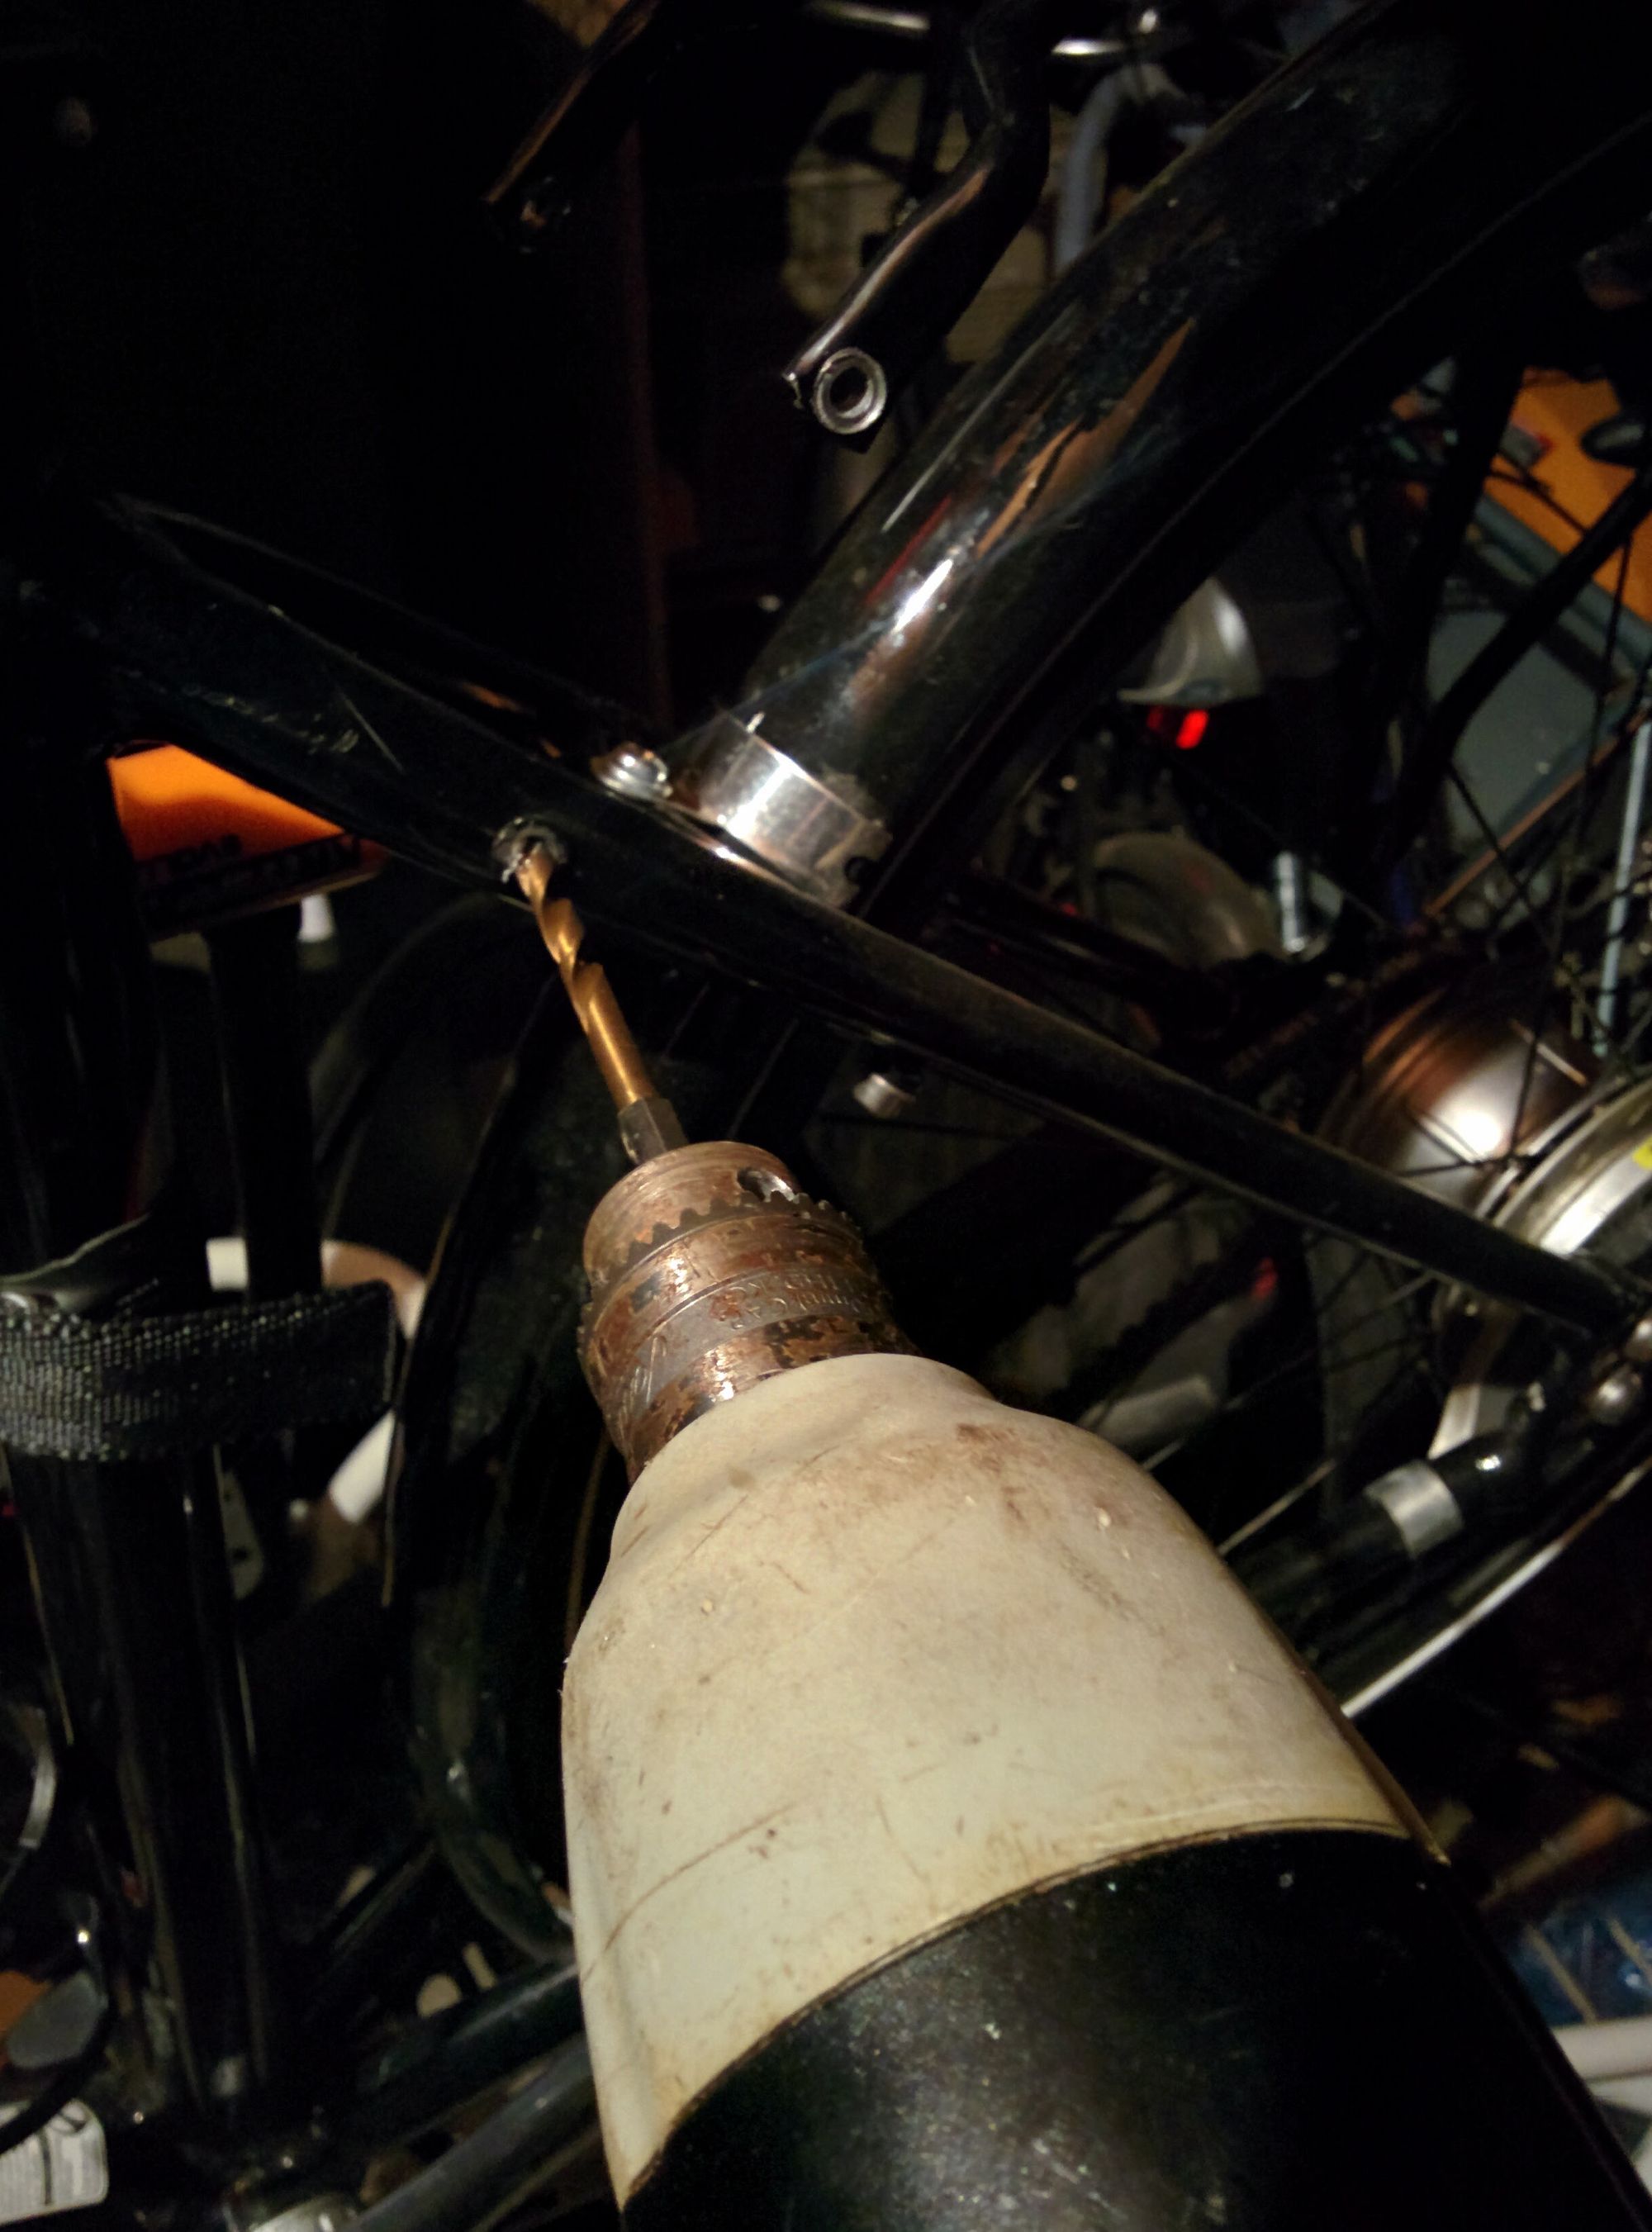
So a little bit ago I noticed the threads on one of the rack mounts of my commuter bike had stripped, was barely holding on with the amount of thread engagement, and that a good lateral knock would likely pop the bolt out more often than not. Considering my personal preference is to bike with pannier bags and keep my back clear of extra weight, this was going to quickly become a issue that I would have to fix somehow. Some quick research brought Helicoil inserts to my attention as a valid method to fix damaged threads. Another popular method seems to be drilling the mounting into through bolt style, but I did not want to risk damage to the aluminum frame and don't have enough personal knowledge to know whether or not such a modification would actually be safe long term in this situation. The Helicoil insert method works by drilling out the worn and damaged threads, tapping the hole with new threads a little larger than the original, and then threading in the coil insert to leave you with threading in the same size as the original. After watching a few videos on YouTube, search for "helicoil repair" in case that's not obvious, it seemed to be within my skill limits, not very costly, and that the method produced satisfactory results on much more demanding applications since most examples seemed to be focused on car and motorcycle components. The only real concern I had left moving forward and buying the required tools was that the irregular surface of the seat stays would make the drilling and tapping more difficult than the examples I had seen, but this later proved to not be the case.
The Tools
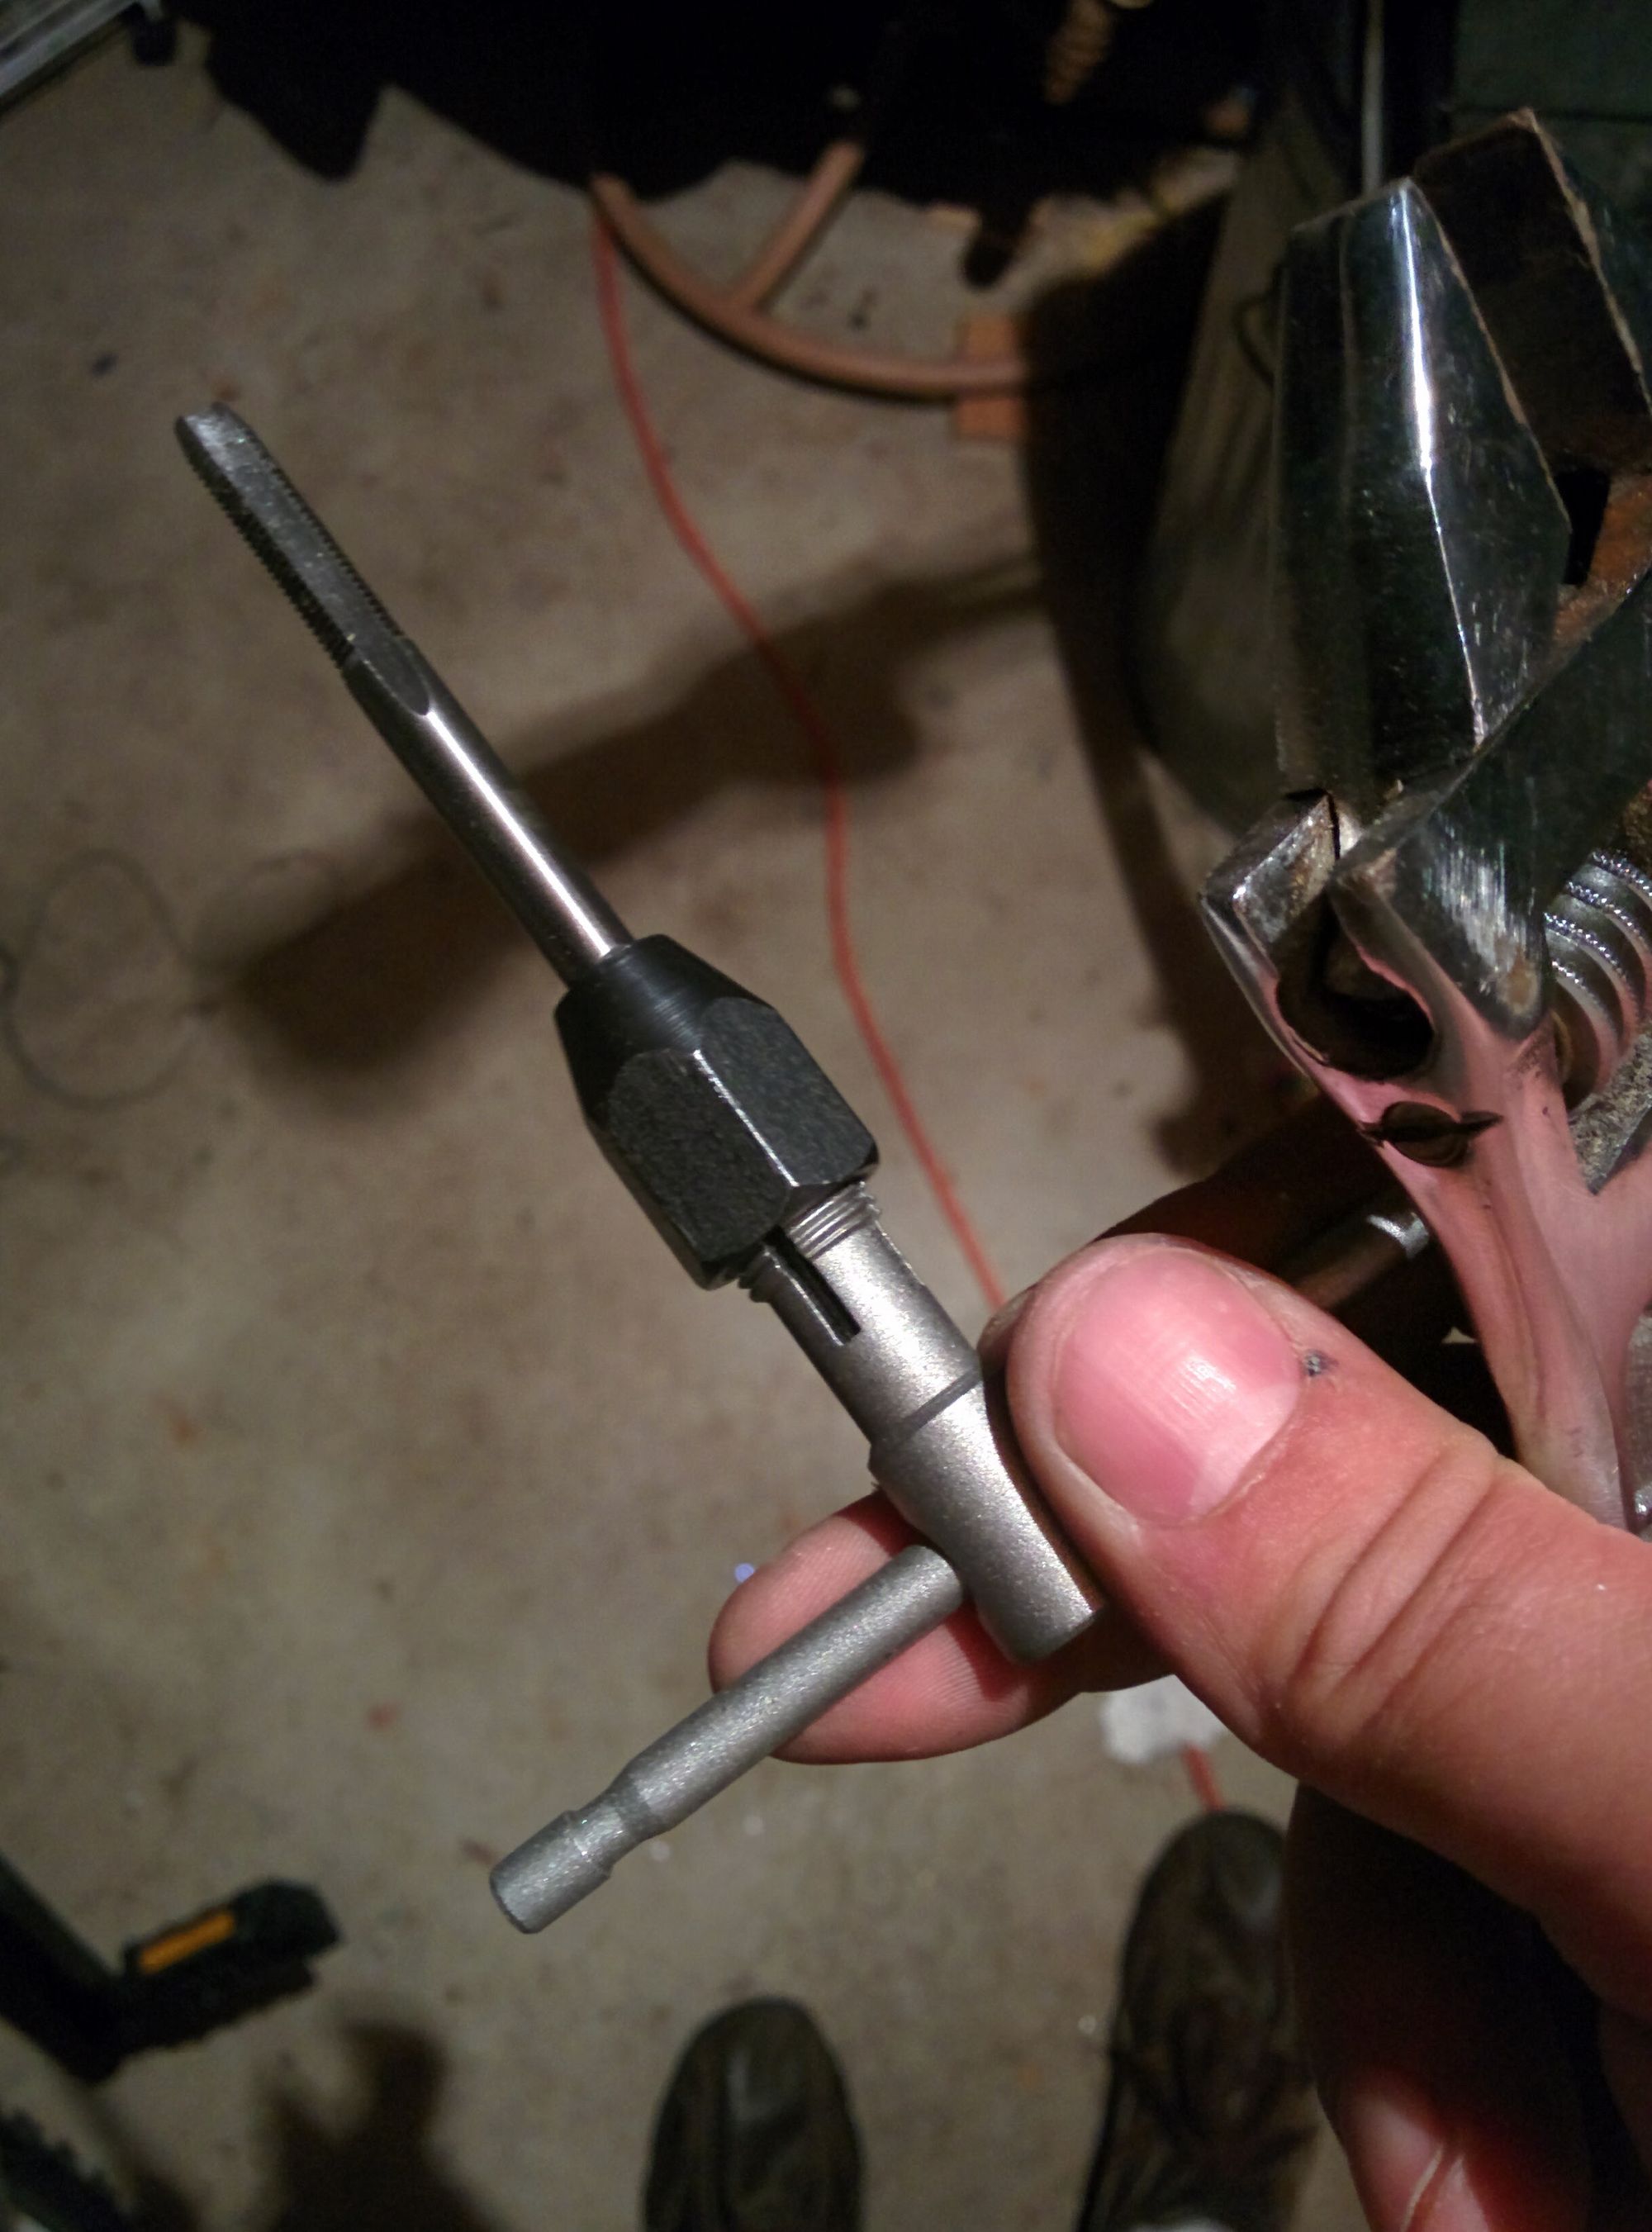
So step 1 in getting the right tools was checking on which Helicoil kit to get was to double check what size the threads the originals were. Thankfully, Google will quickly tell you that the bike frame accessory mounts are M5x0.8 and Park Tools has a pretty great page explaining threading concepts. Another popular suggestion was to use some thread locker to help lock in either the insert or bolt afterwards and opted for some Loctite 242 to be safe, but a stronger thread locker can be used if you are more confident about not needing to remove the bolt or if you plan on doing a stronger lock on the coil insert itself with the newly tapped threads. The Helicoil kit for this size also requires a 13/64in drill bit, it is also written on the kits thread tap for reference, so order one as well if you don't already have a bit in that size. You will also need a T-Handle wrench that with a 0-1/4in range since you should not use a power drill to tap the threads or insert the coil. All in all the parts I needed can out to about $50 USD on Amazon.
The Fix
Here I will show the various steps done to fix the threads. These are all taken straight from the official instructions, so this is more for additional reference.
I wish I did a video, might get a chance with a different bike in the near future, but for now I just have pictures.

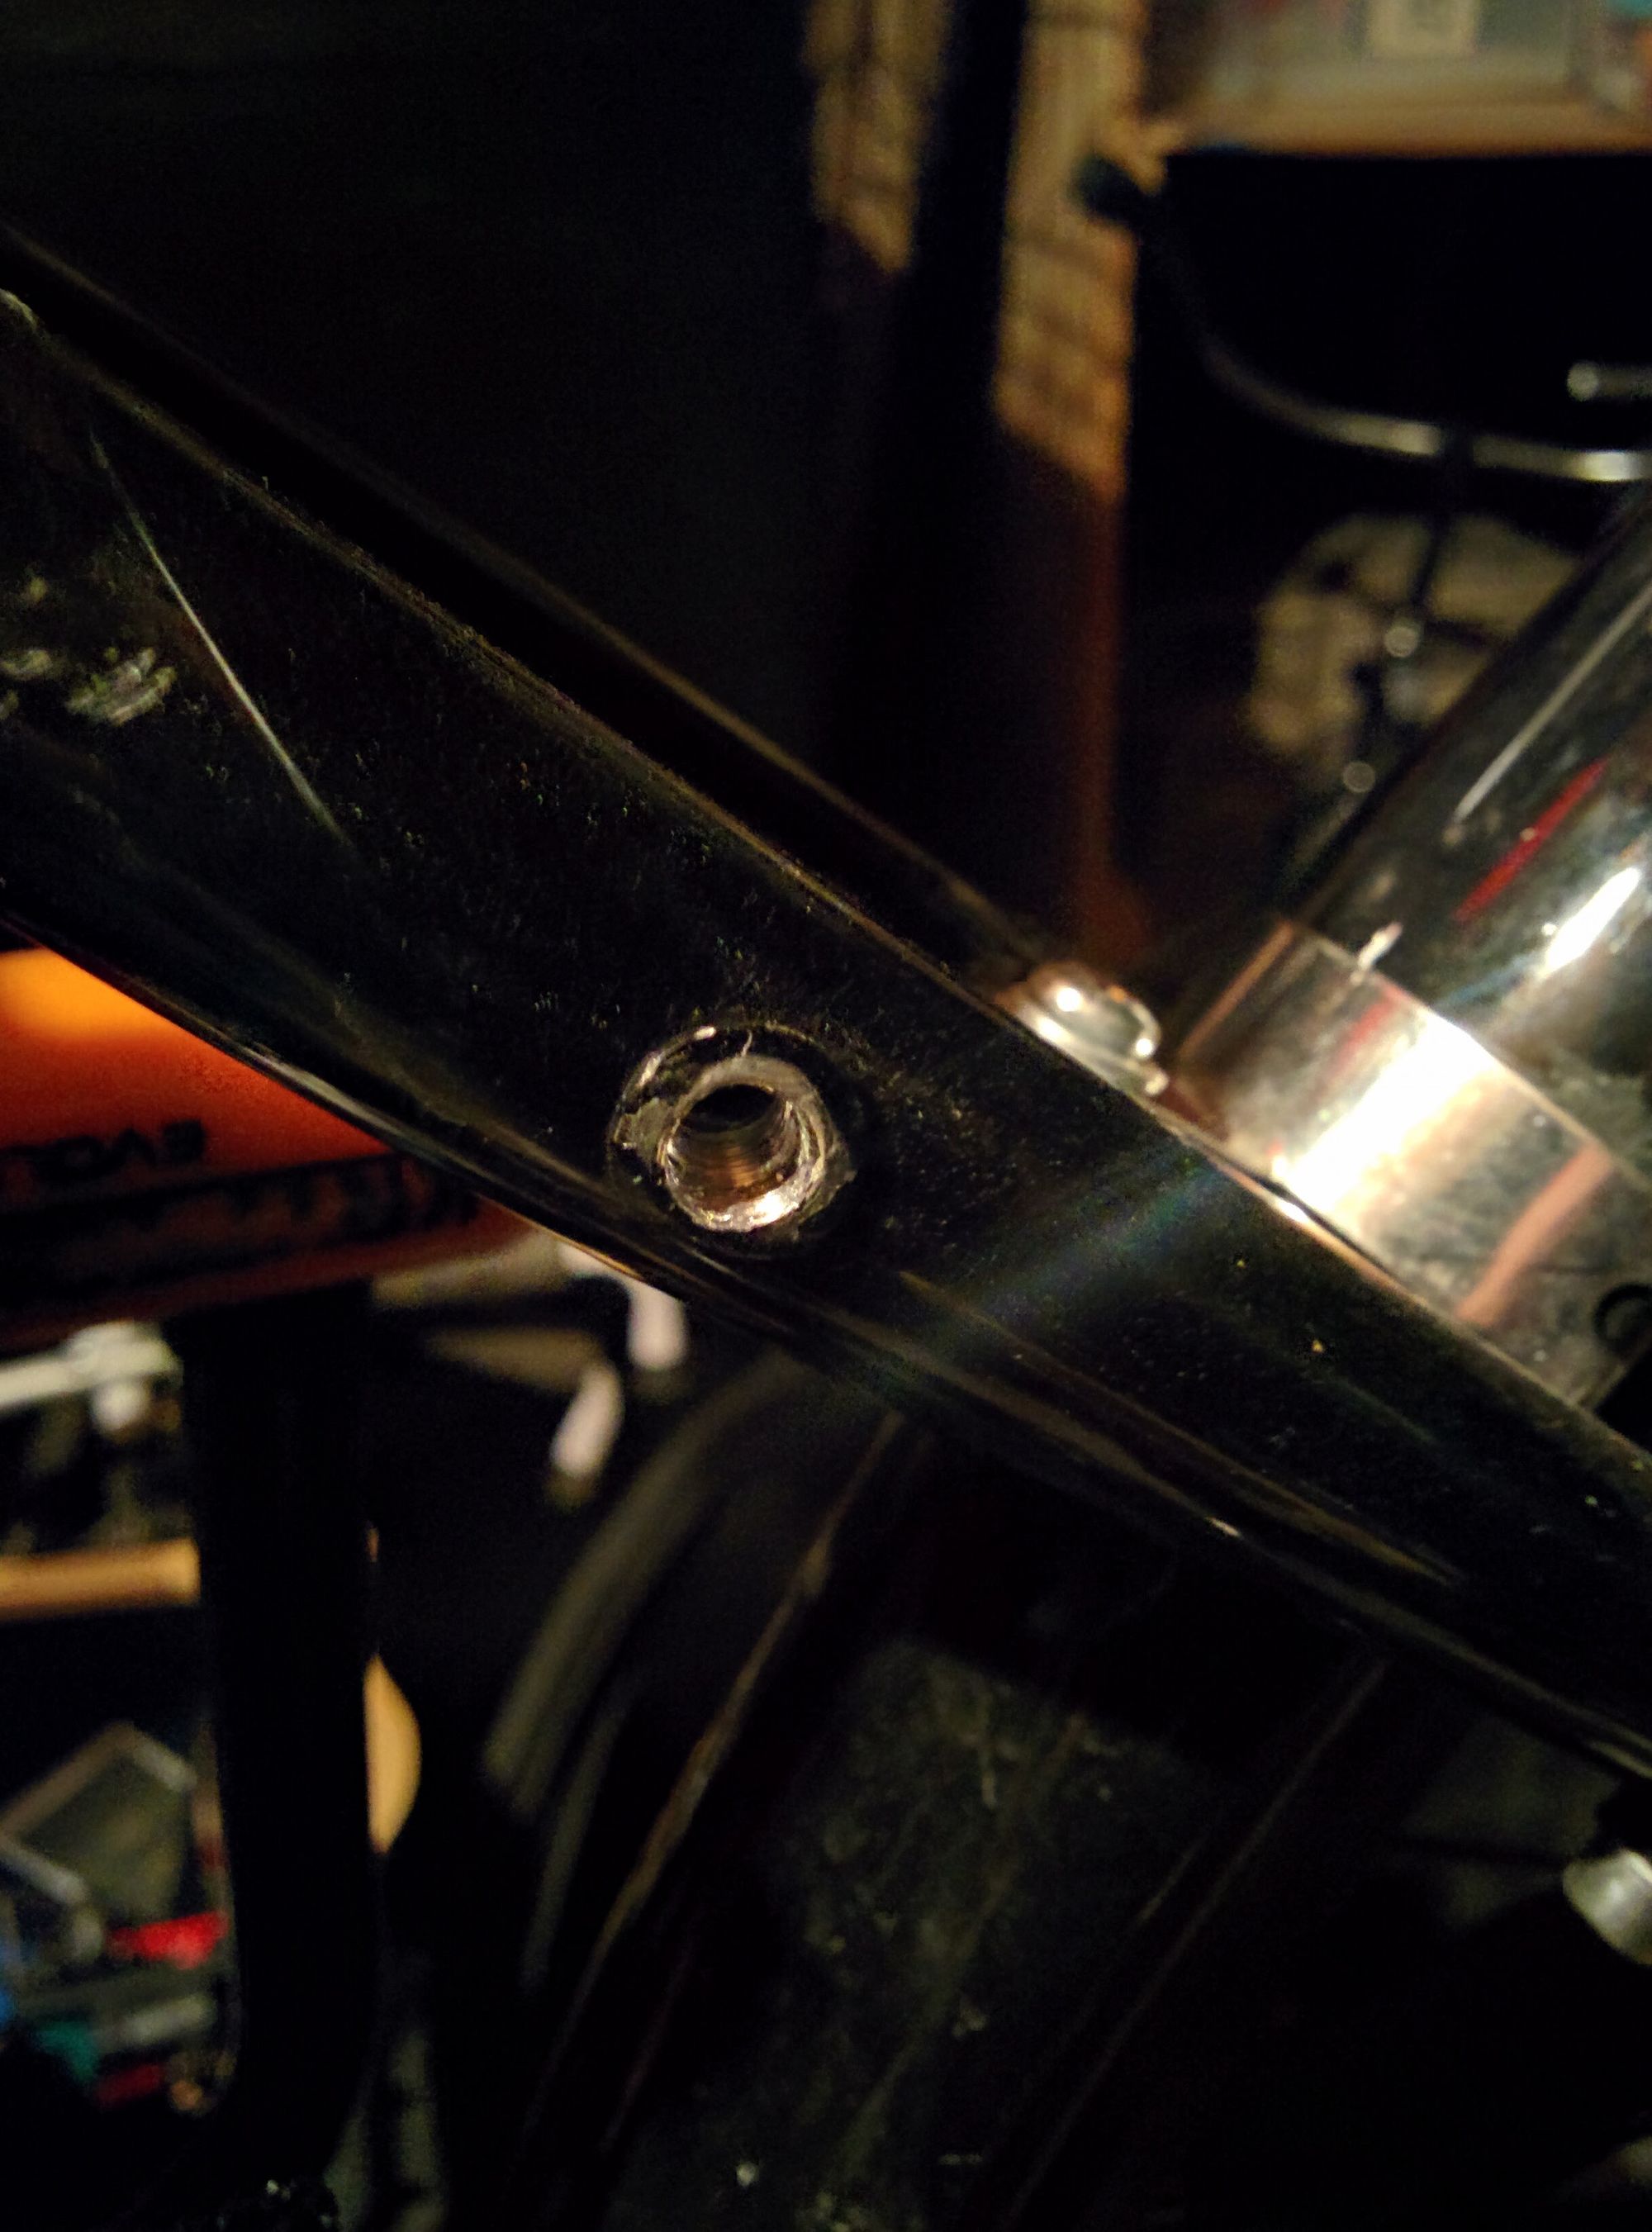
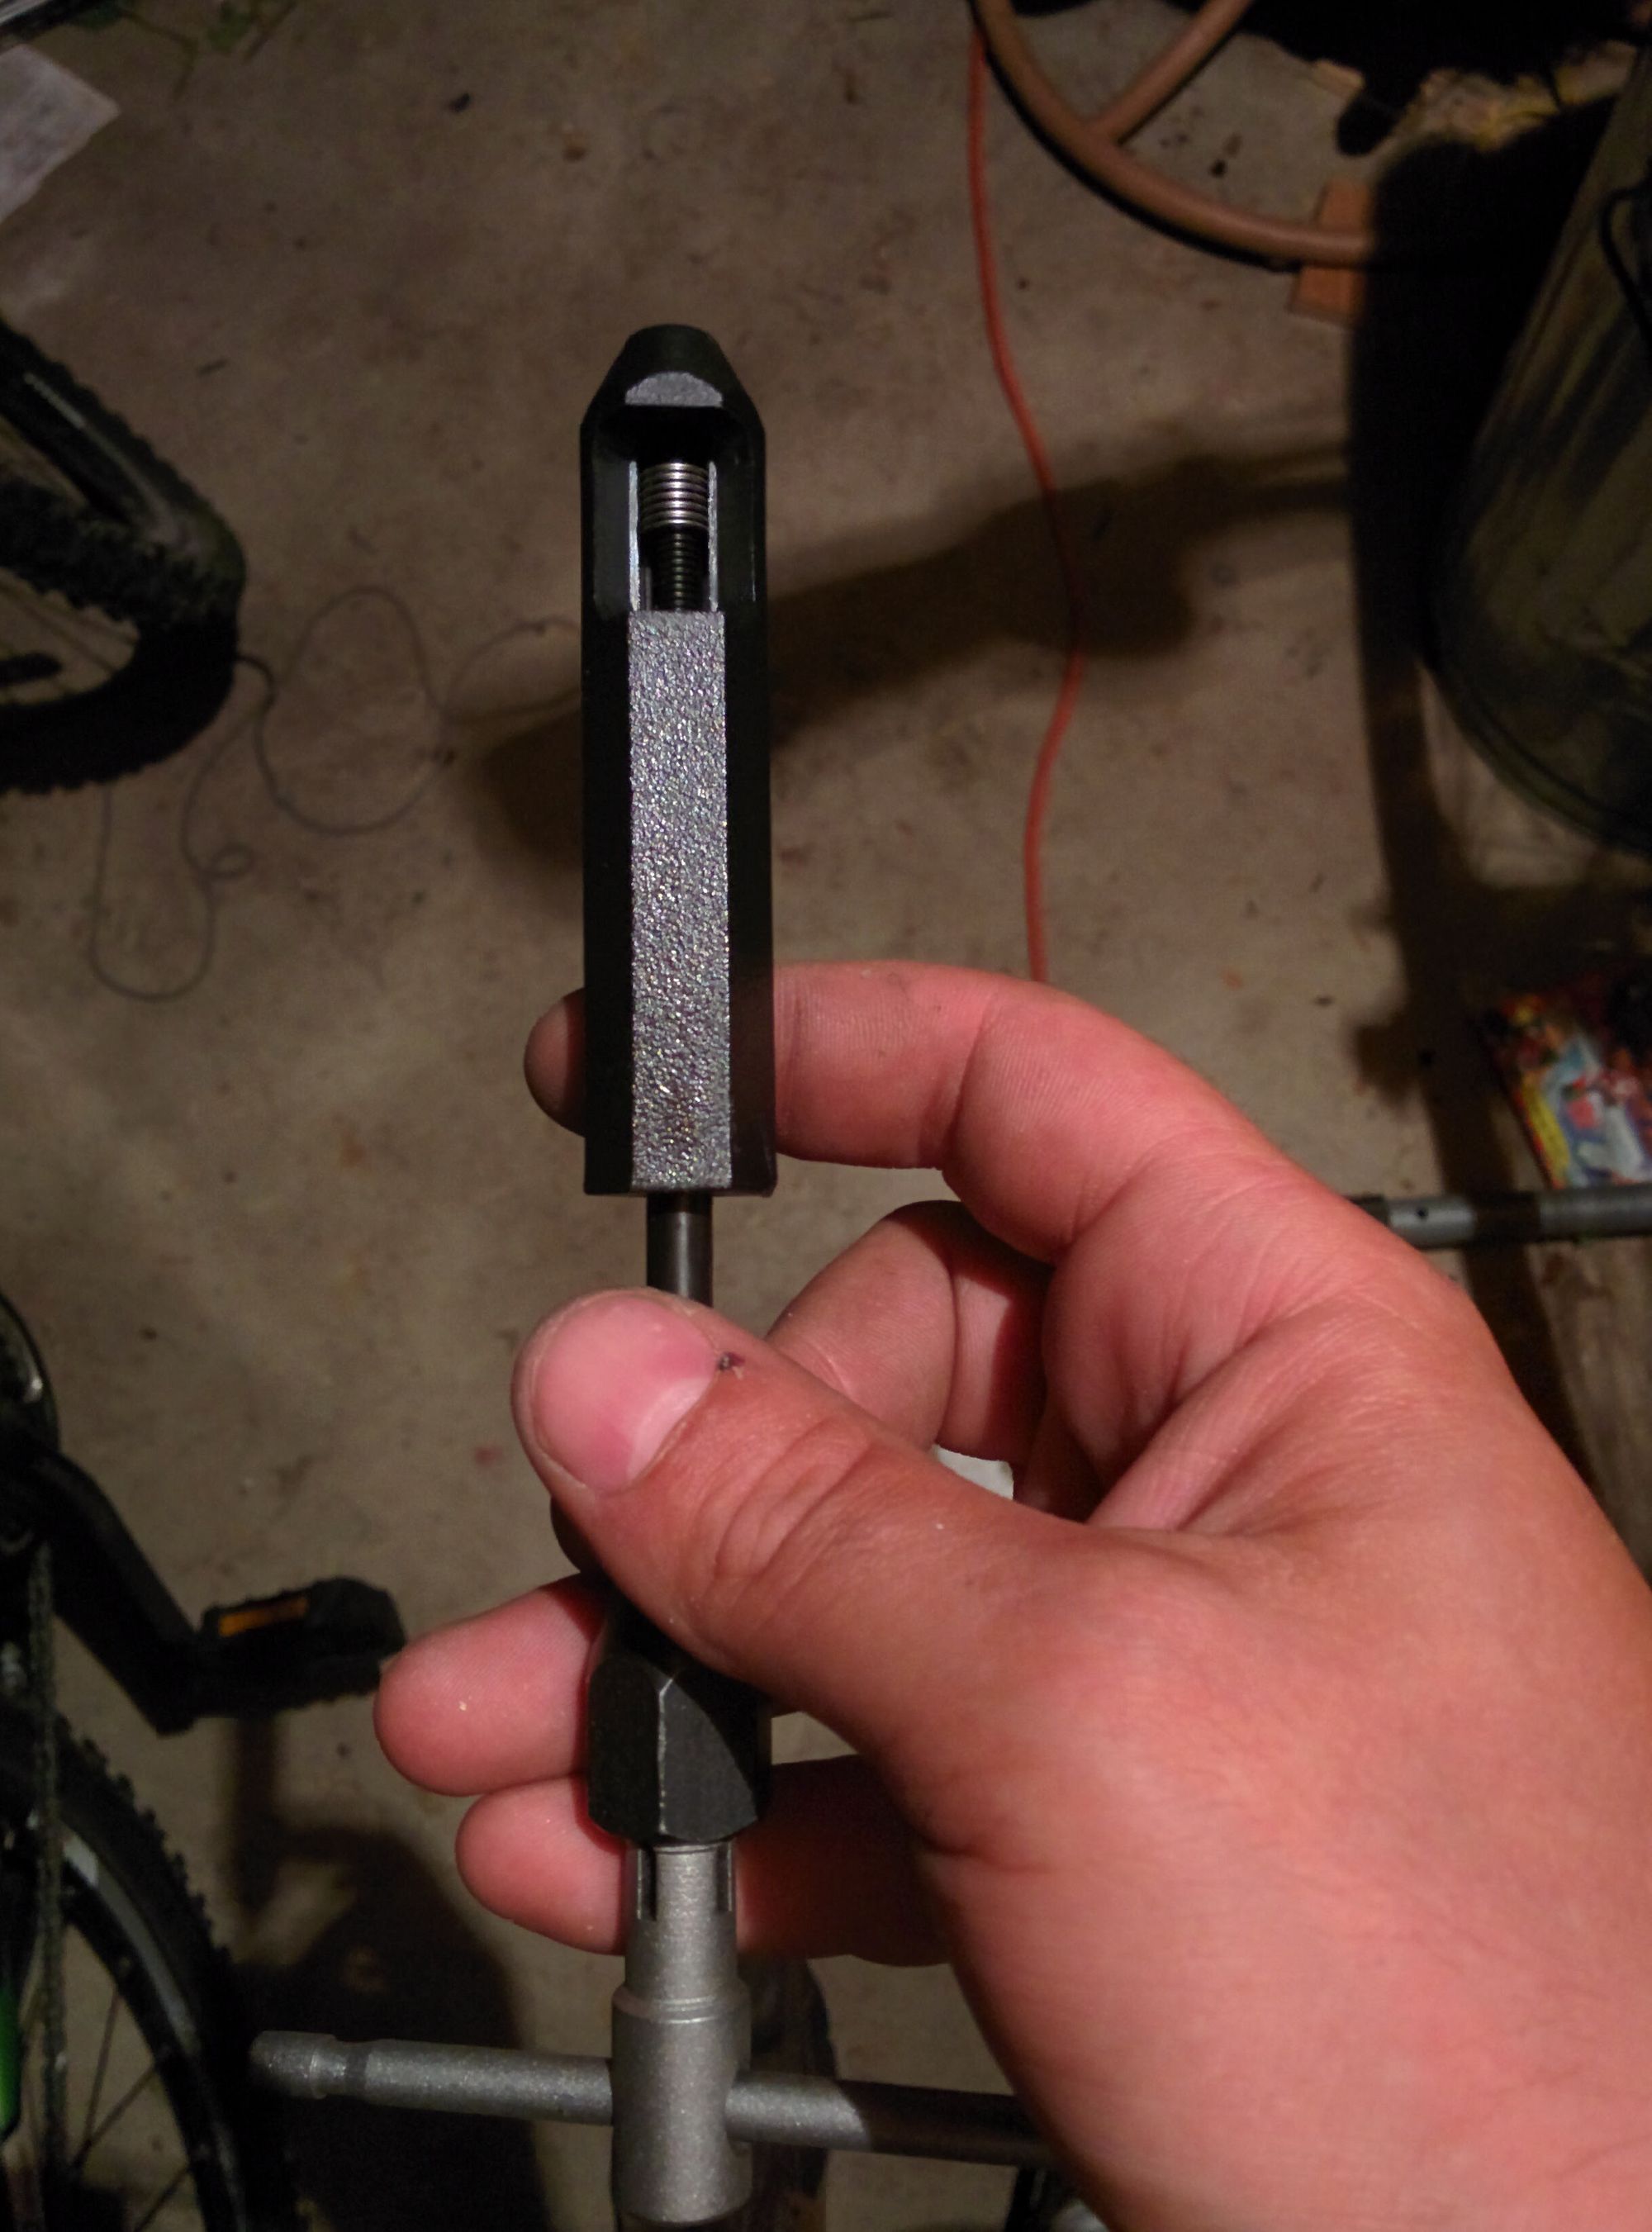
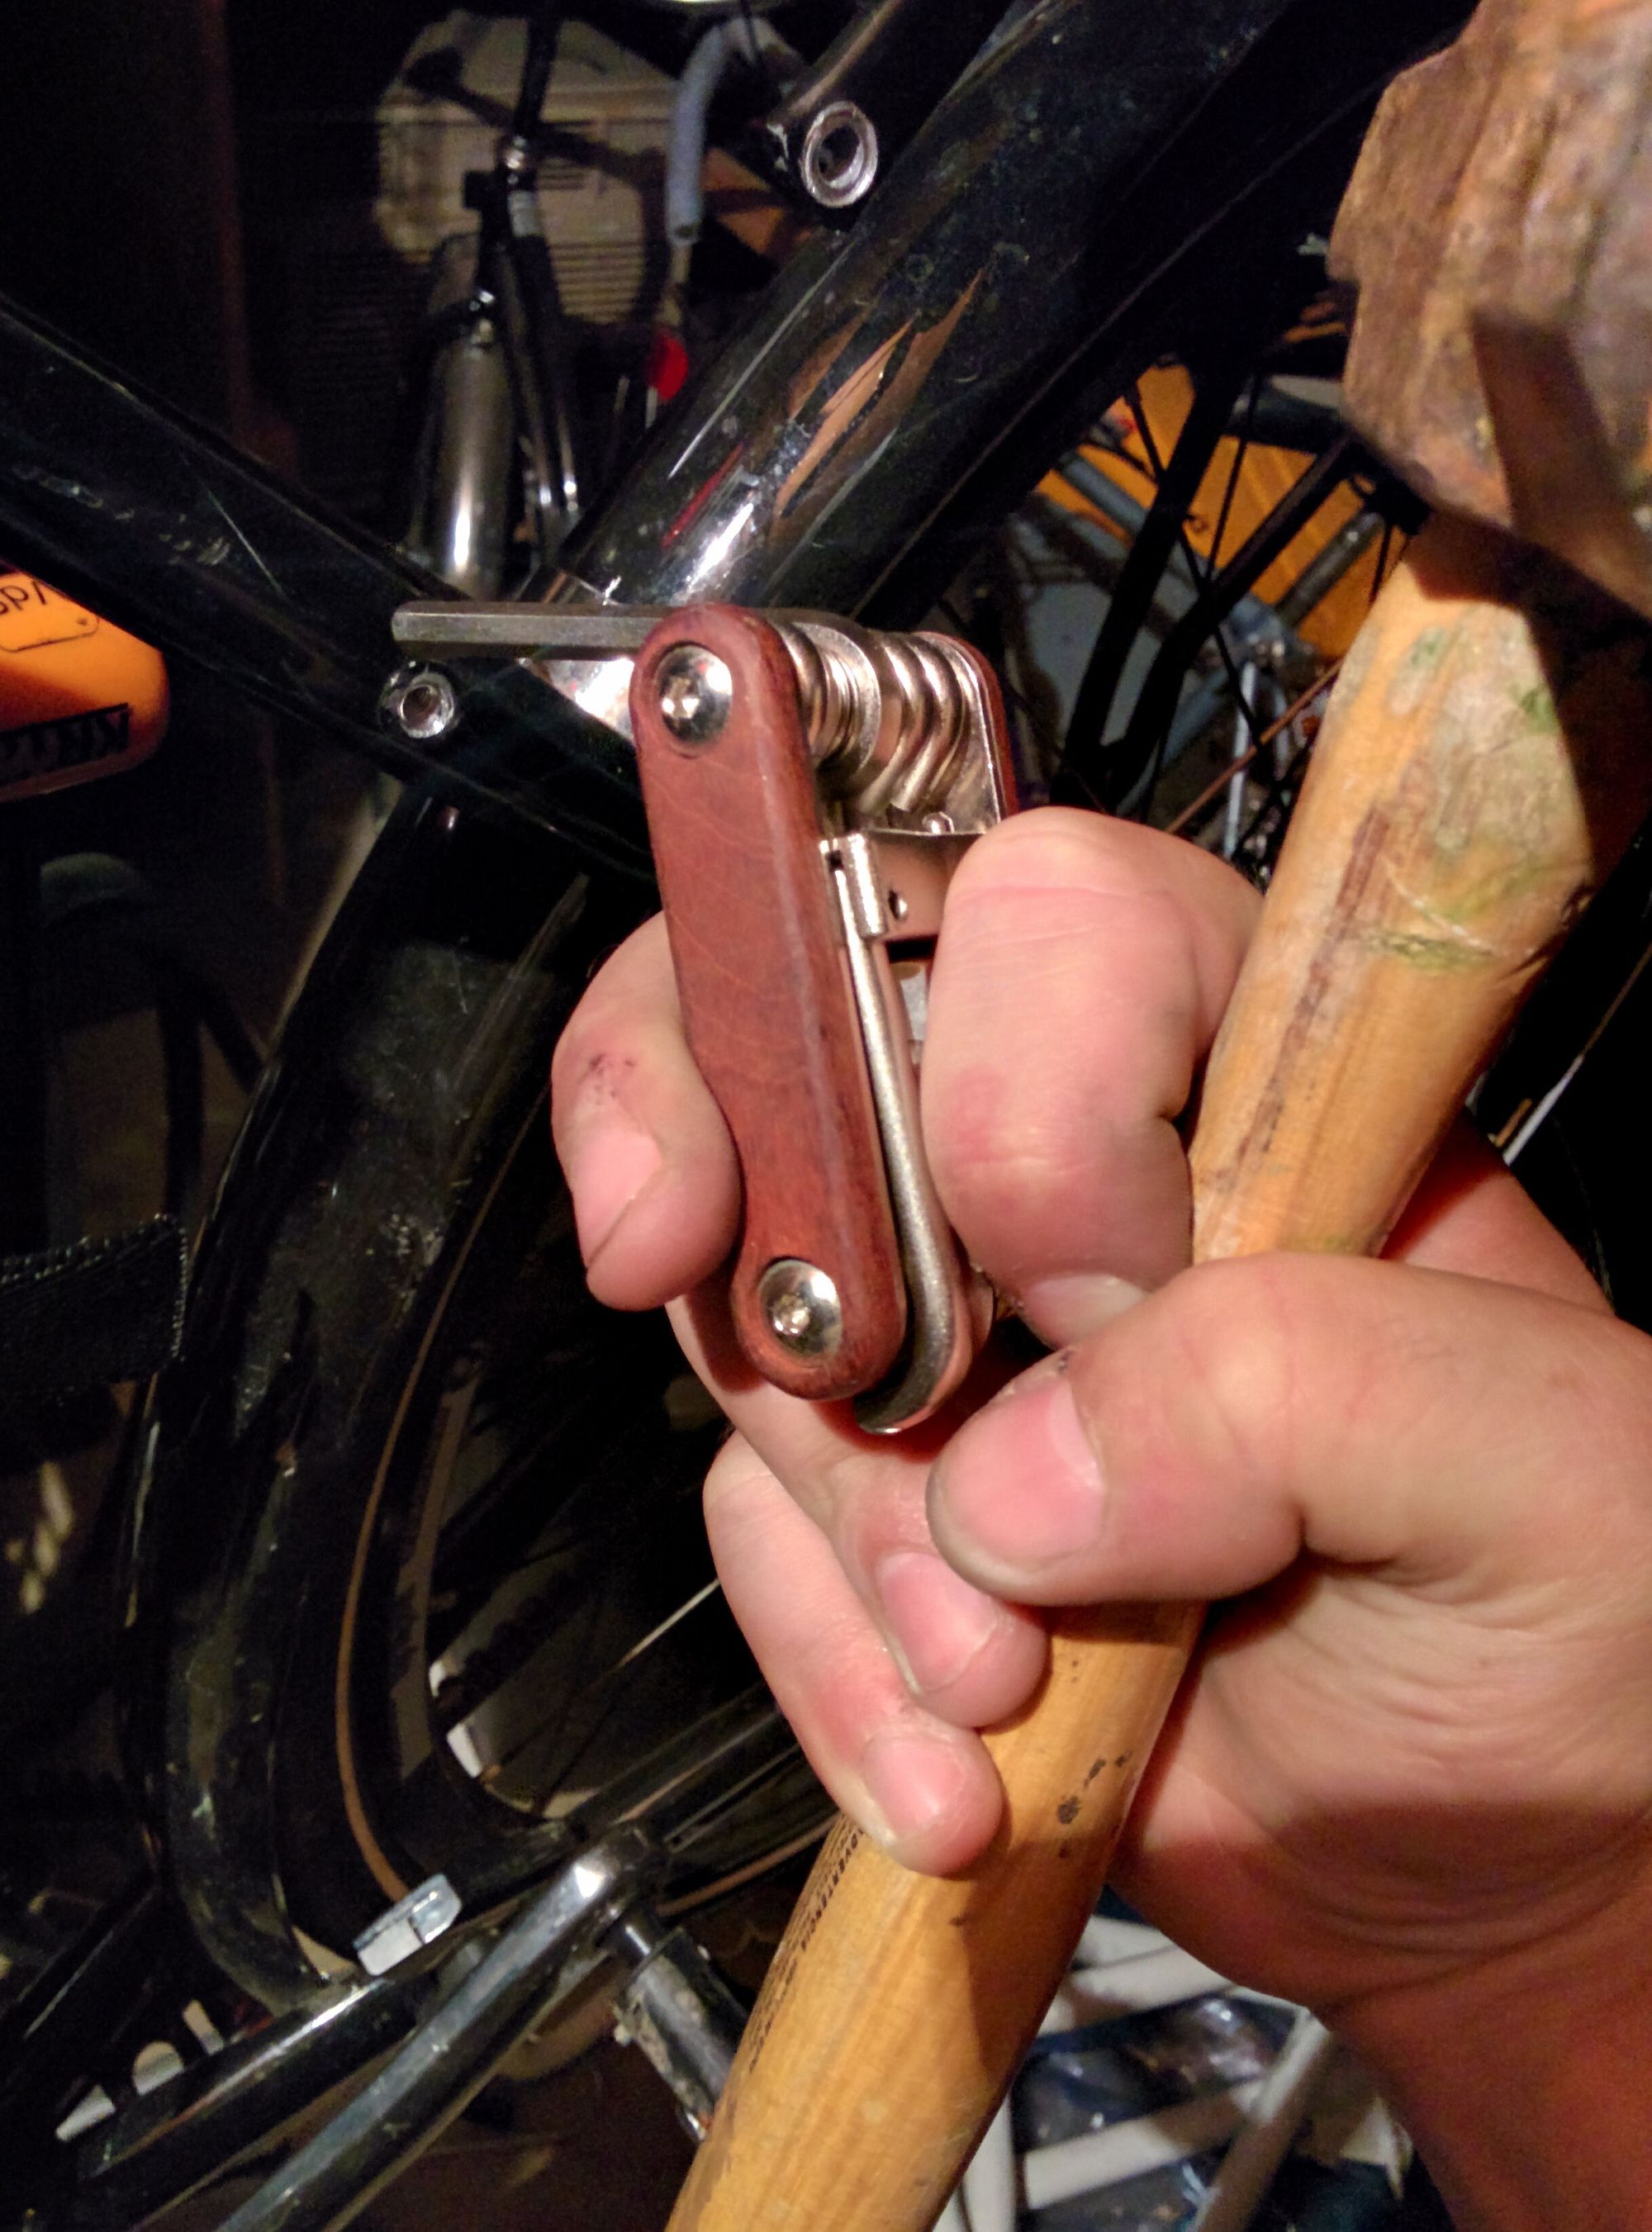
7) Put the tool flush to the mount point and begin threading the coil in. Again, make sure it engages the new threads cleanly or the repair will fail. Make to drive the coil a bit lower than the opening of the mount point aka not flush.
PHOTO OF INSERTED COIL MISSING :'(
9) YOU ARE DONE! If everything went well then you not have a repaired mount point and can try putting your rack back on to confirm everything is good. If things did not go well, you will have to research other methods of thread repair.
