The Audio-Technica AT-727 Sound Burger was a portable belt drive turntable sold in Japan, the UK, and Europe in the 1980s. It's generally popular among current collectors due to the idea that it is a much higher quality turntable when compared to other portable offerings, including current production portable tables. It uses a moving magnet cartridge, compared to the ceramic cartridge on most other portables, that tracks at a very respectable 2 grams, has 2 headphone 3.5mm output jacks tied to a volume control, includes RCA line output, and can run on either 3 "C" cell batteries or a 4.5 volt, center pin negative, 5.5mm x 2.1mm barrel jack, AC to DC adapter.
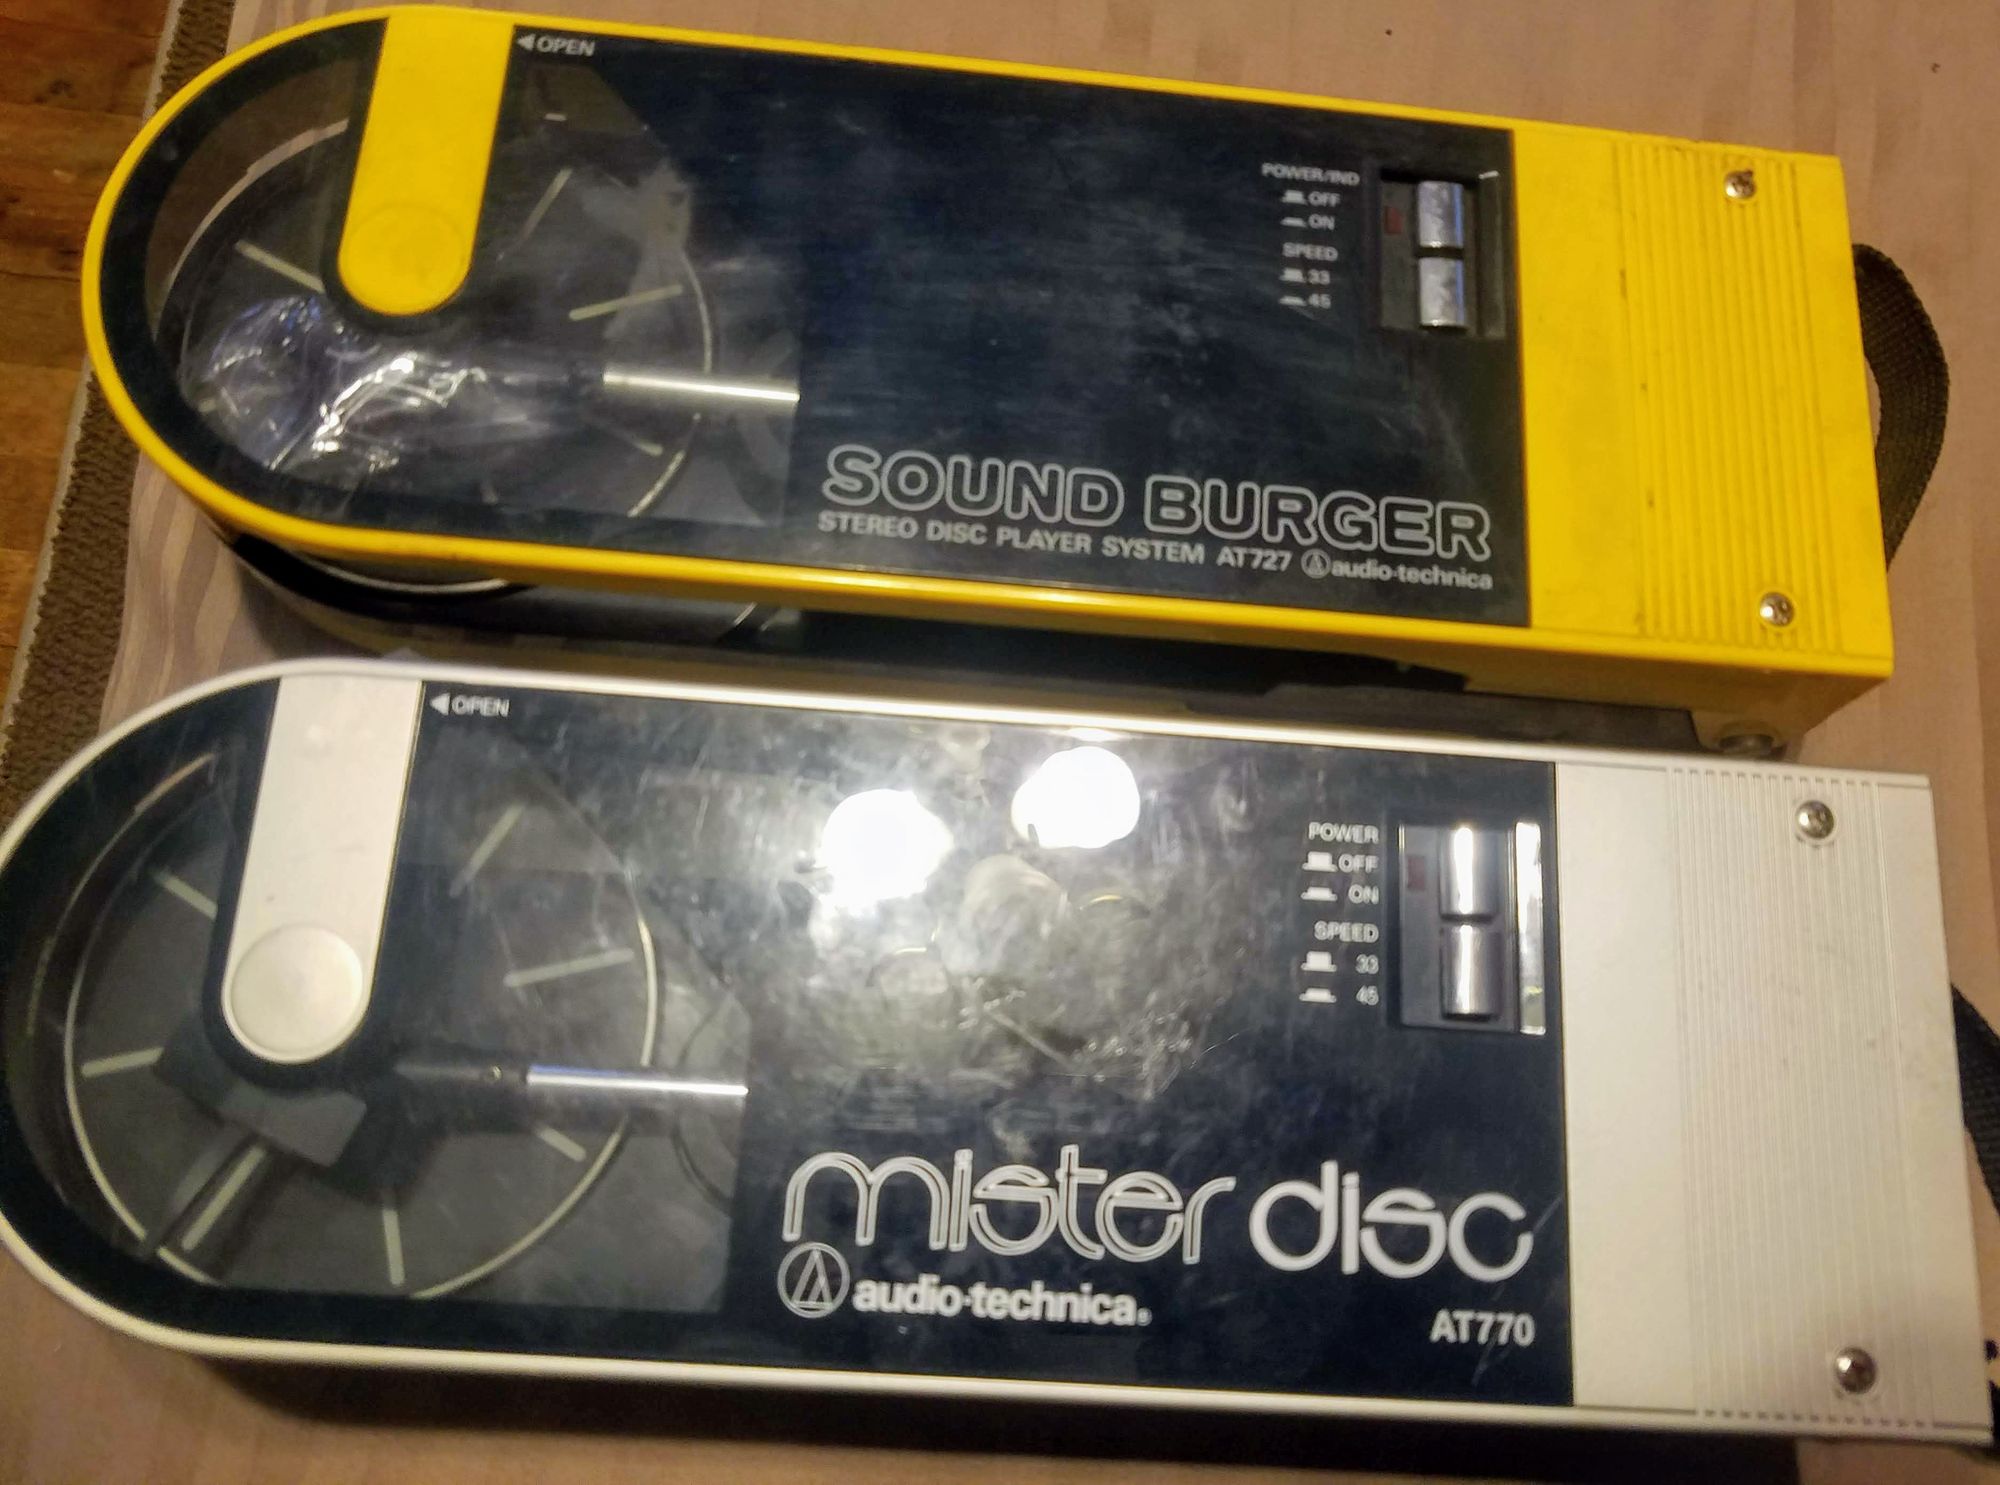
I managed to find a yellow unit on a Japanese auction site and a few days after winning it was at by front door. Besides needing to be cleaned up there were a few other issues that needed to be resolved. It needed a new belt set and new stylus. Thankfully both of which can be found on eBay for a reasonable price. More extensively, the barrel jack needed to be completely replaced as it was just too corroded, corrosion on the outputs needed to be cleaned up, and the electrolytic capacitors on the circuit board needed to be replaced. Thankfully those can be easily purchased off of digikey.com. I also needed to cleanup and lubricate the platter and the shaft of a wheel that connects the platter to the motor via 2 belts. Any of the work done on this Sound Burger unit also applied to the American Mister Disc units. There is no functional difference between the International and American versions. Audio-Technica only changed the model number and name for the US market.
Parts and Tools
- 5.5mm x 2.1mm barrel jack
- Soldering Iron
- Philips Screwdriver
- Needle Nose Pliers
- Desoldering Iron (or plunger or braid)
- Solder
- The AT-727/AT-770 Service Manual
- 1 - 470uf 6.3v capactior
- 4 - 47uf 6.3v capactiors
- 6 - 10uf 16v capactiors
- 2 - 100uf 6.3v capactiors
- 4 - 220uf 6.3v capactiors
The Refurb Work
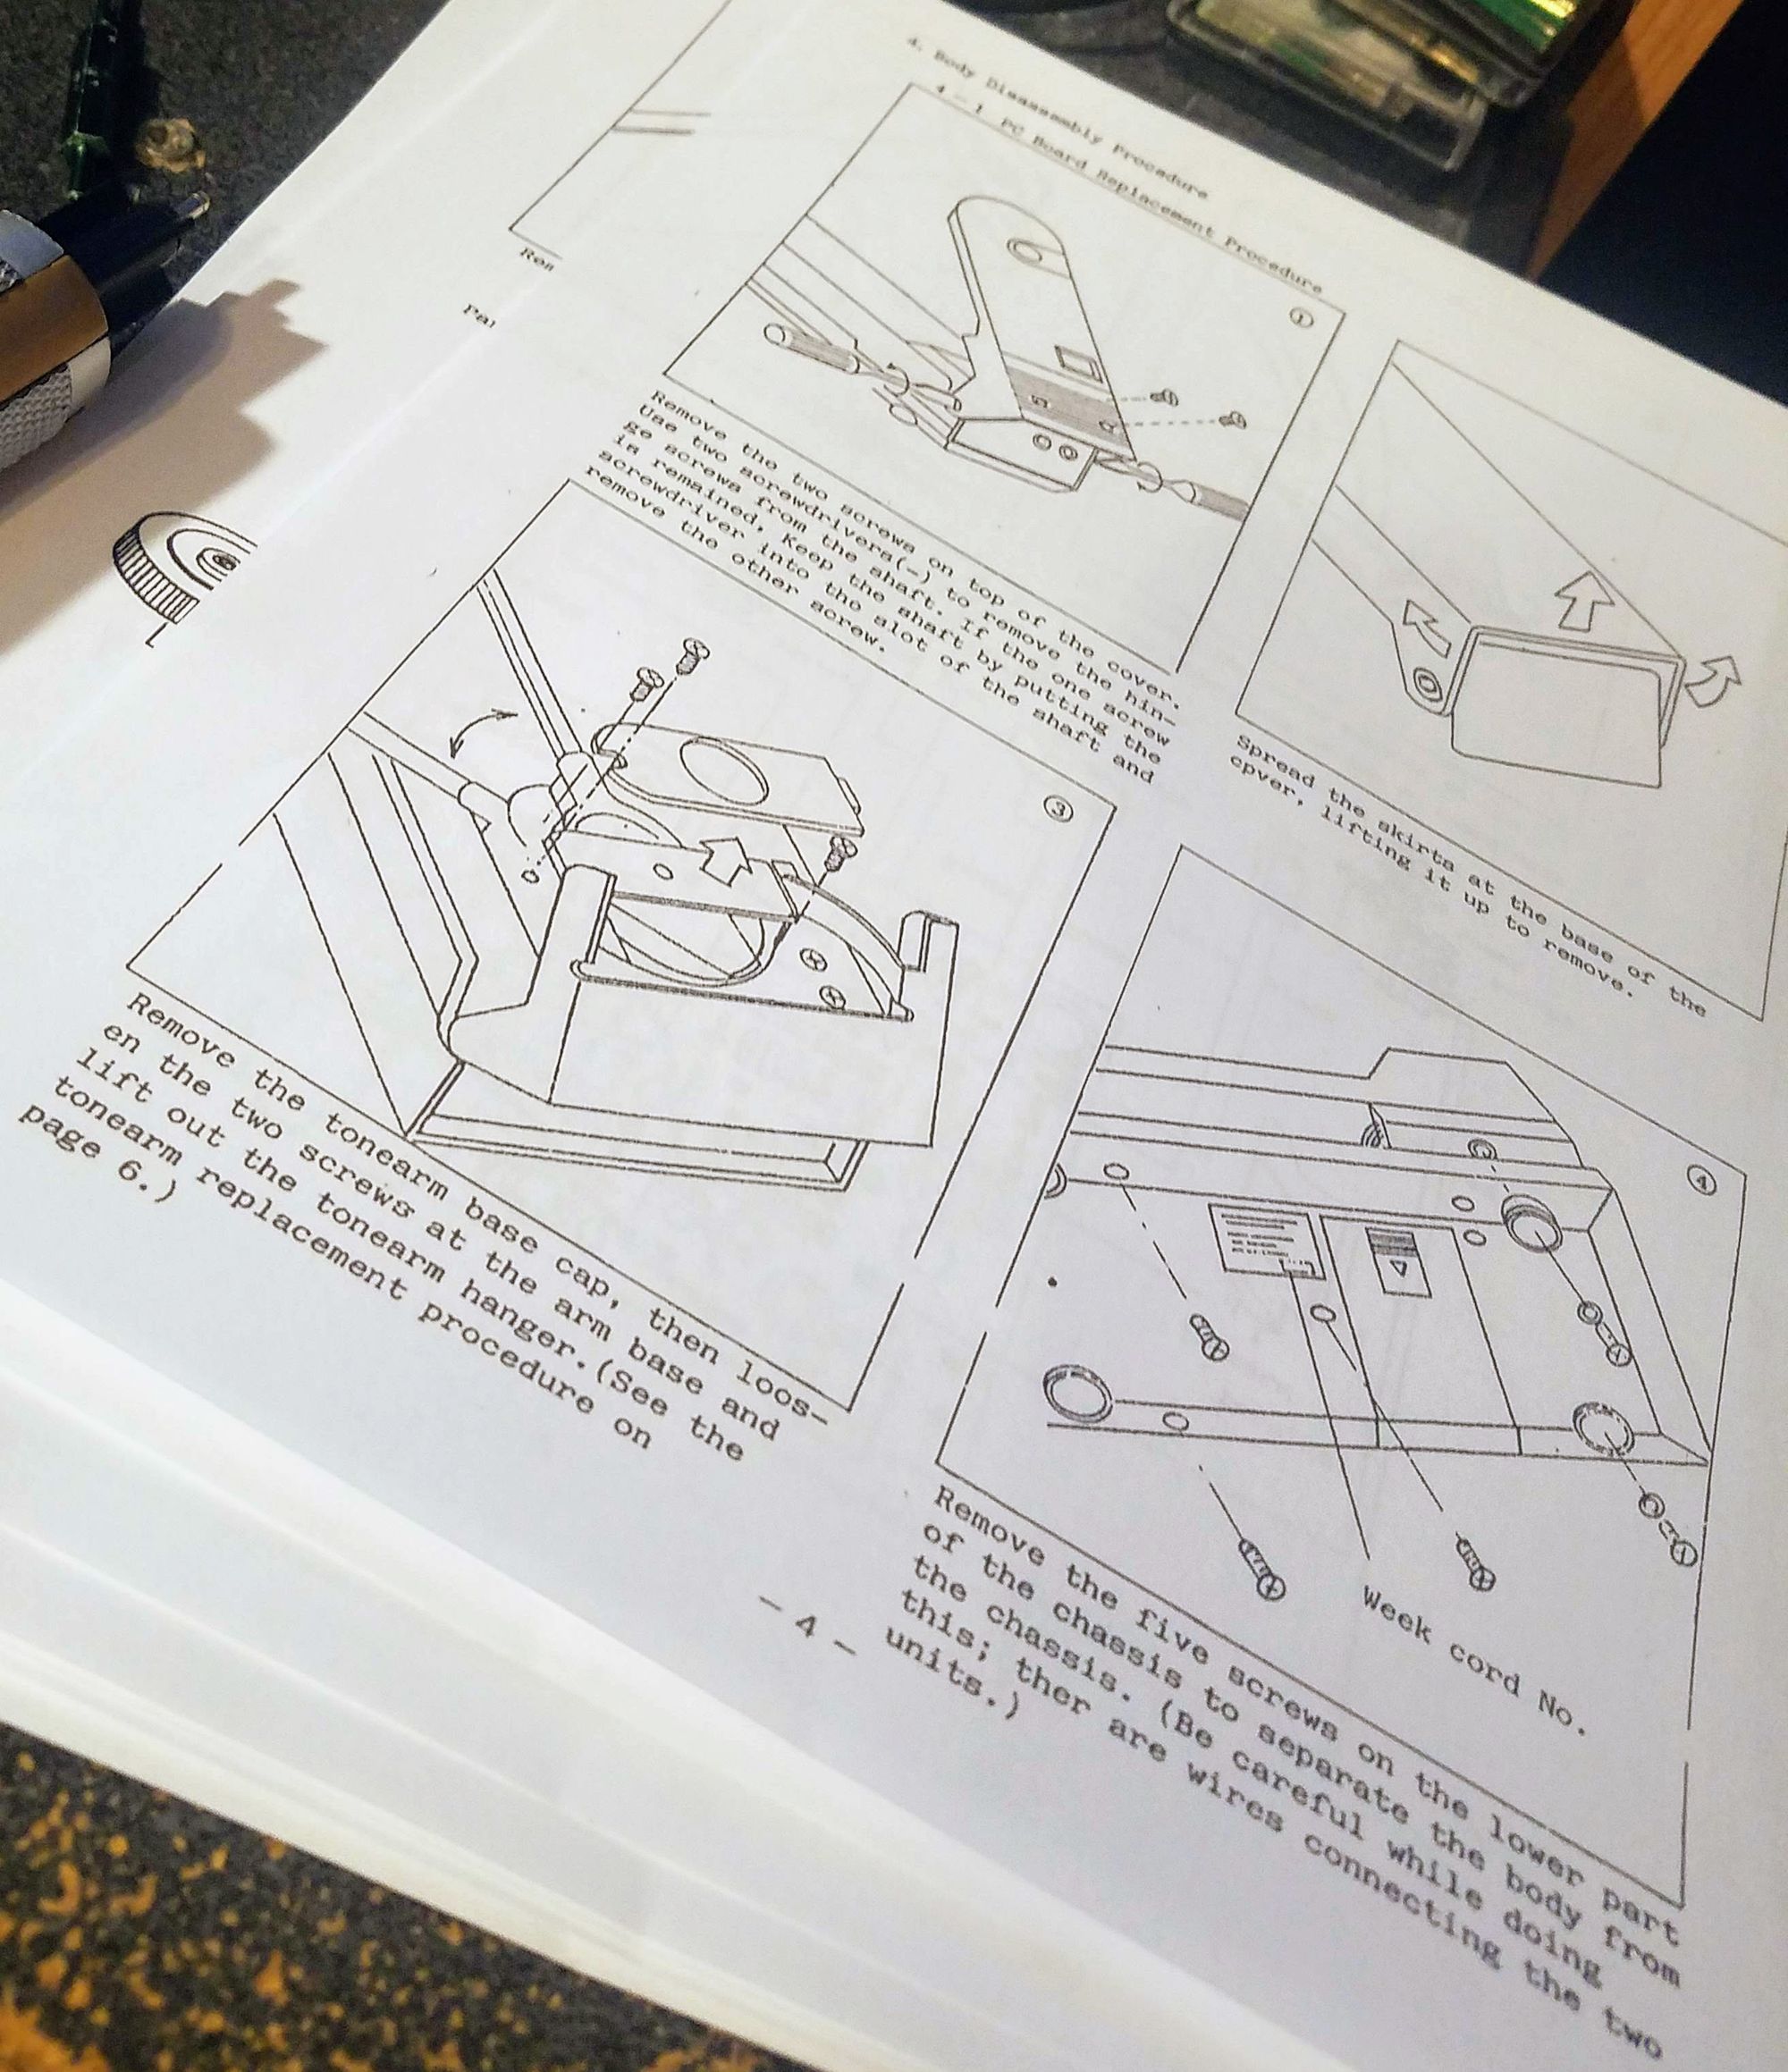
Following the instructions in the service manual, I removed the 2 cover screws and took off the cover. I then removed the screw holding the cover plate over the tonearm and set it aside. Two screws hold the tonearm in place and the tonearm needs to be moved in order to access them. Once those screws are removed the tonearm just lifts out since it sockets directly into the PCB. The 2 screws in the center of the back feet need to be loosened and 3 others completely removed in order to finally separate the 2 halves of the turntable body. I did that and carefully pulled the 2 halves apart.
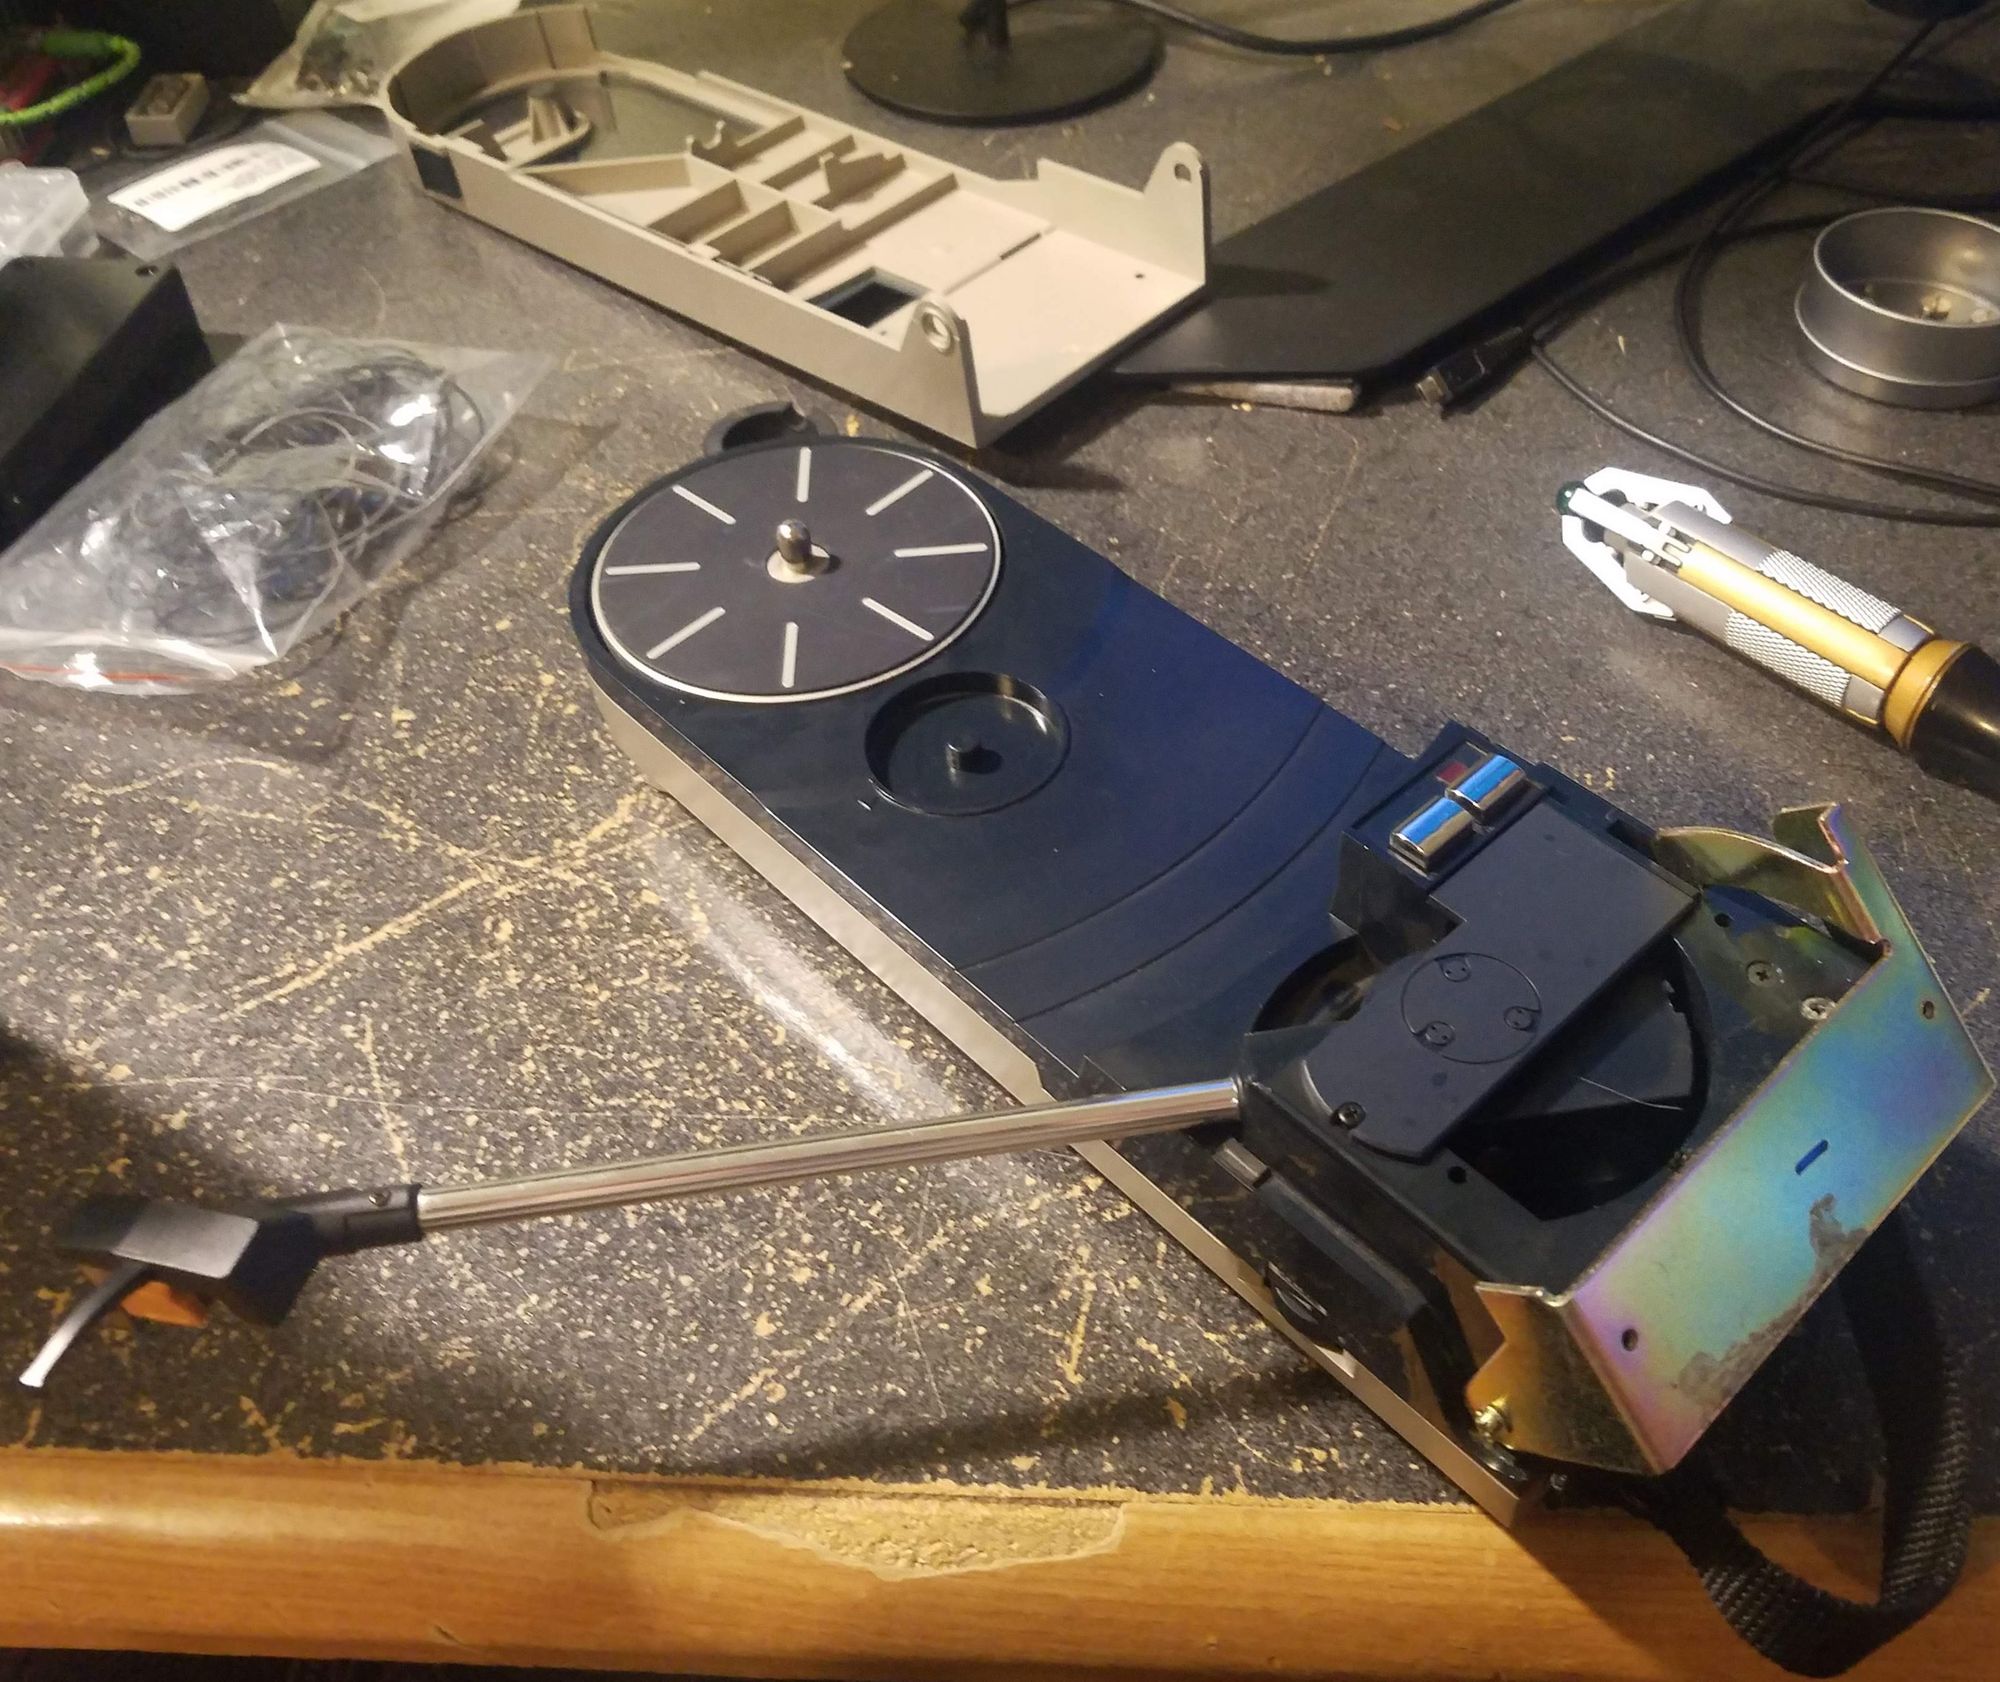
I used the solder iron to heat up the contact points for the power and motor wires on the PCB and I disconnected them. With the wires disconnected, I unscrewed the PCB from the top half of the turntable and carefully lifted it out.
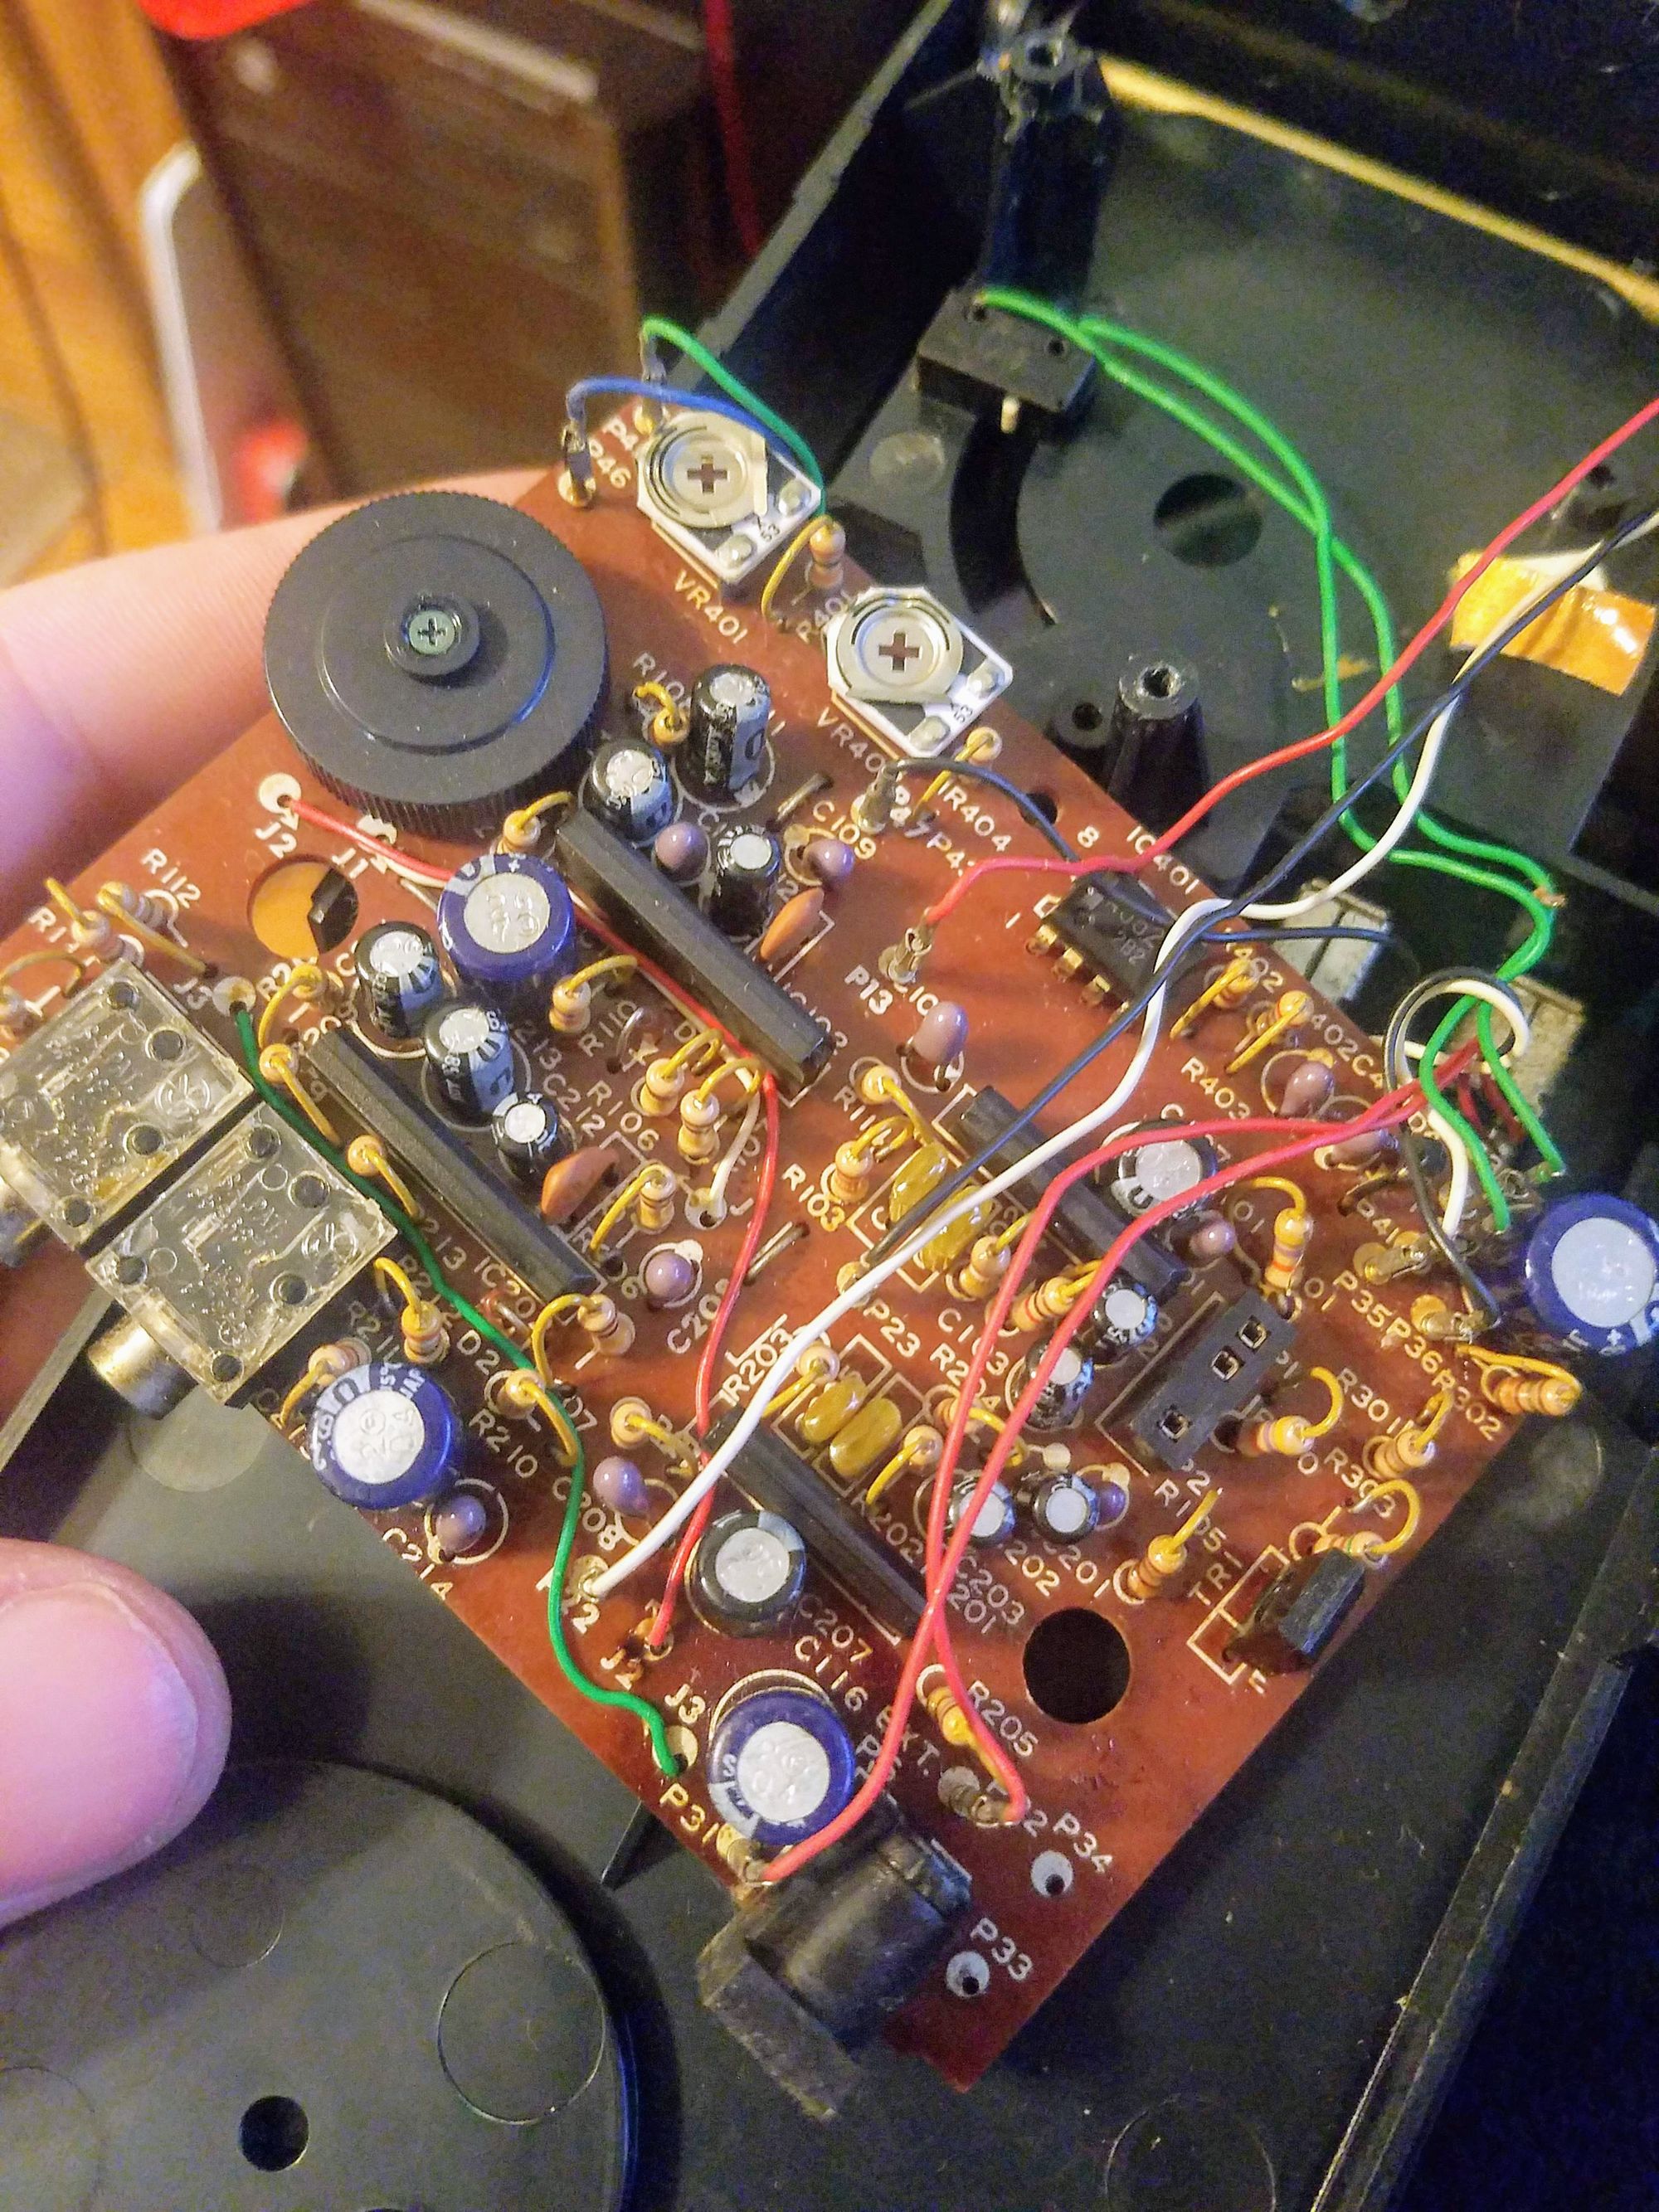
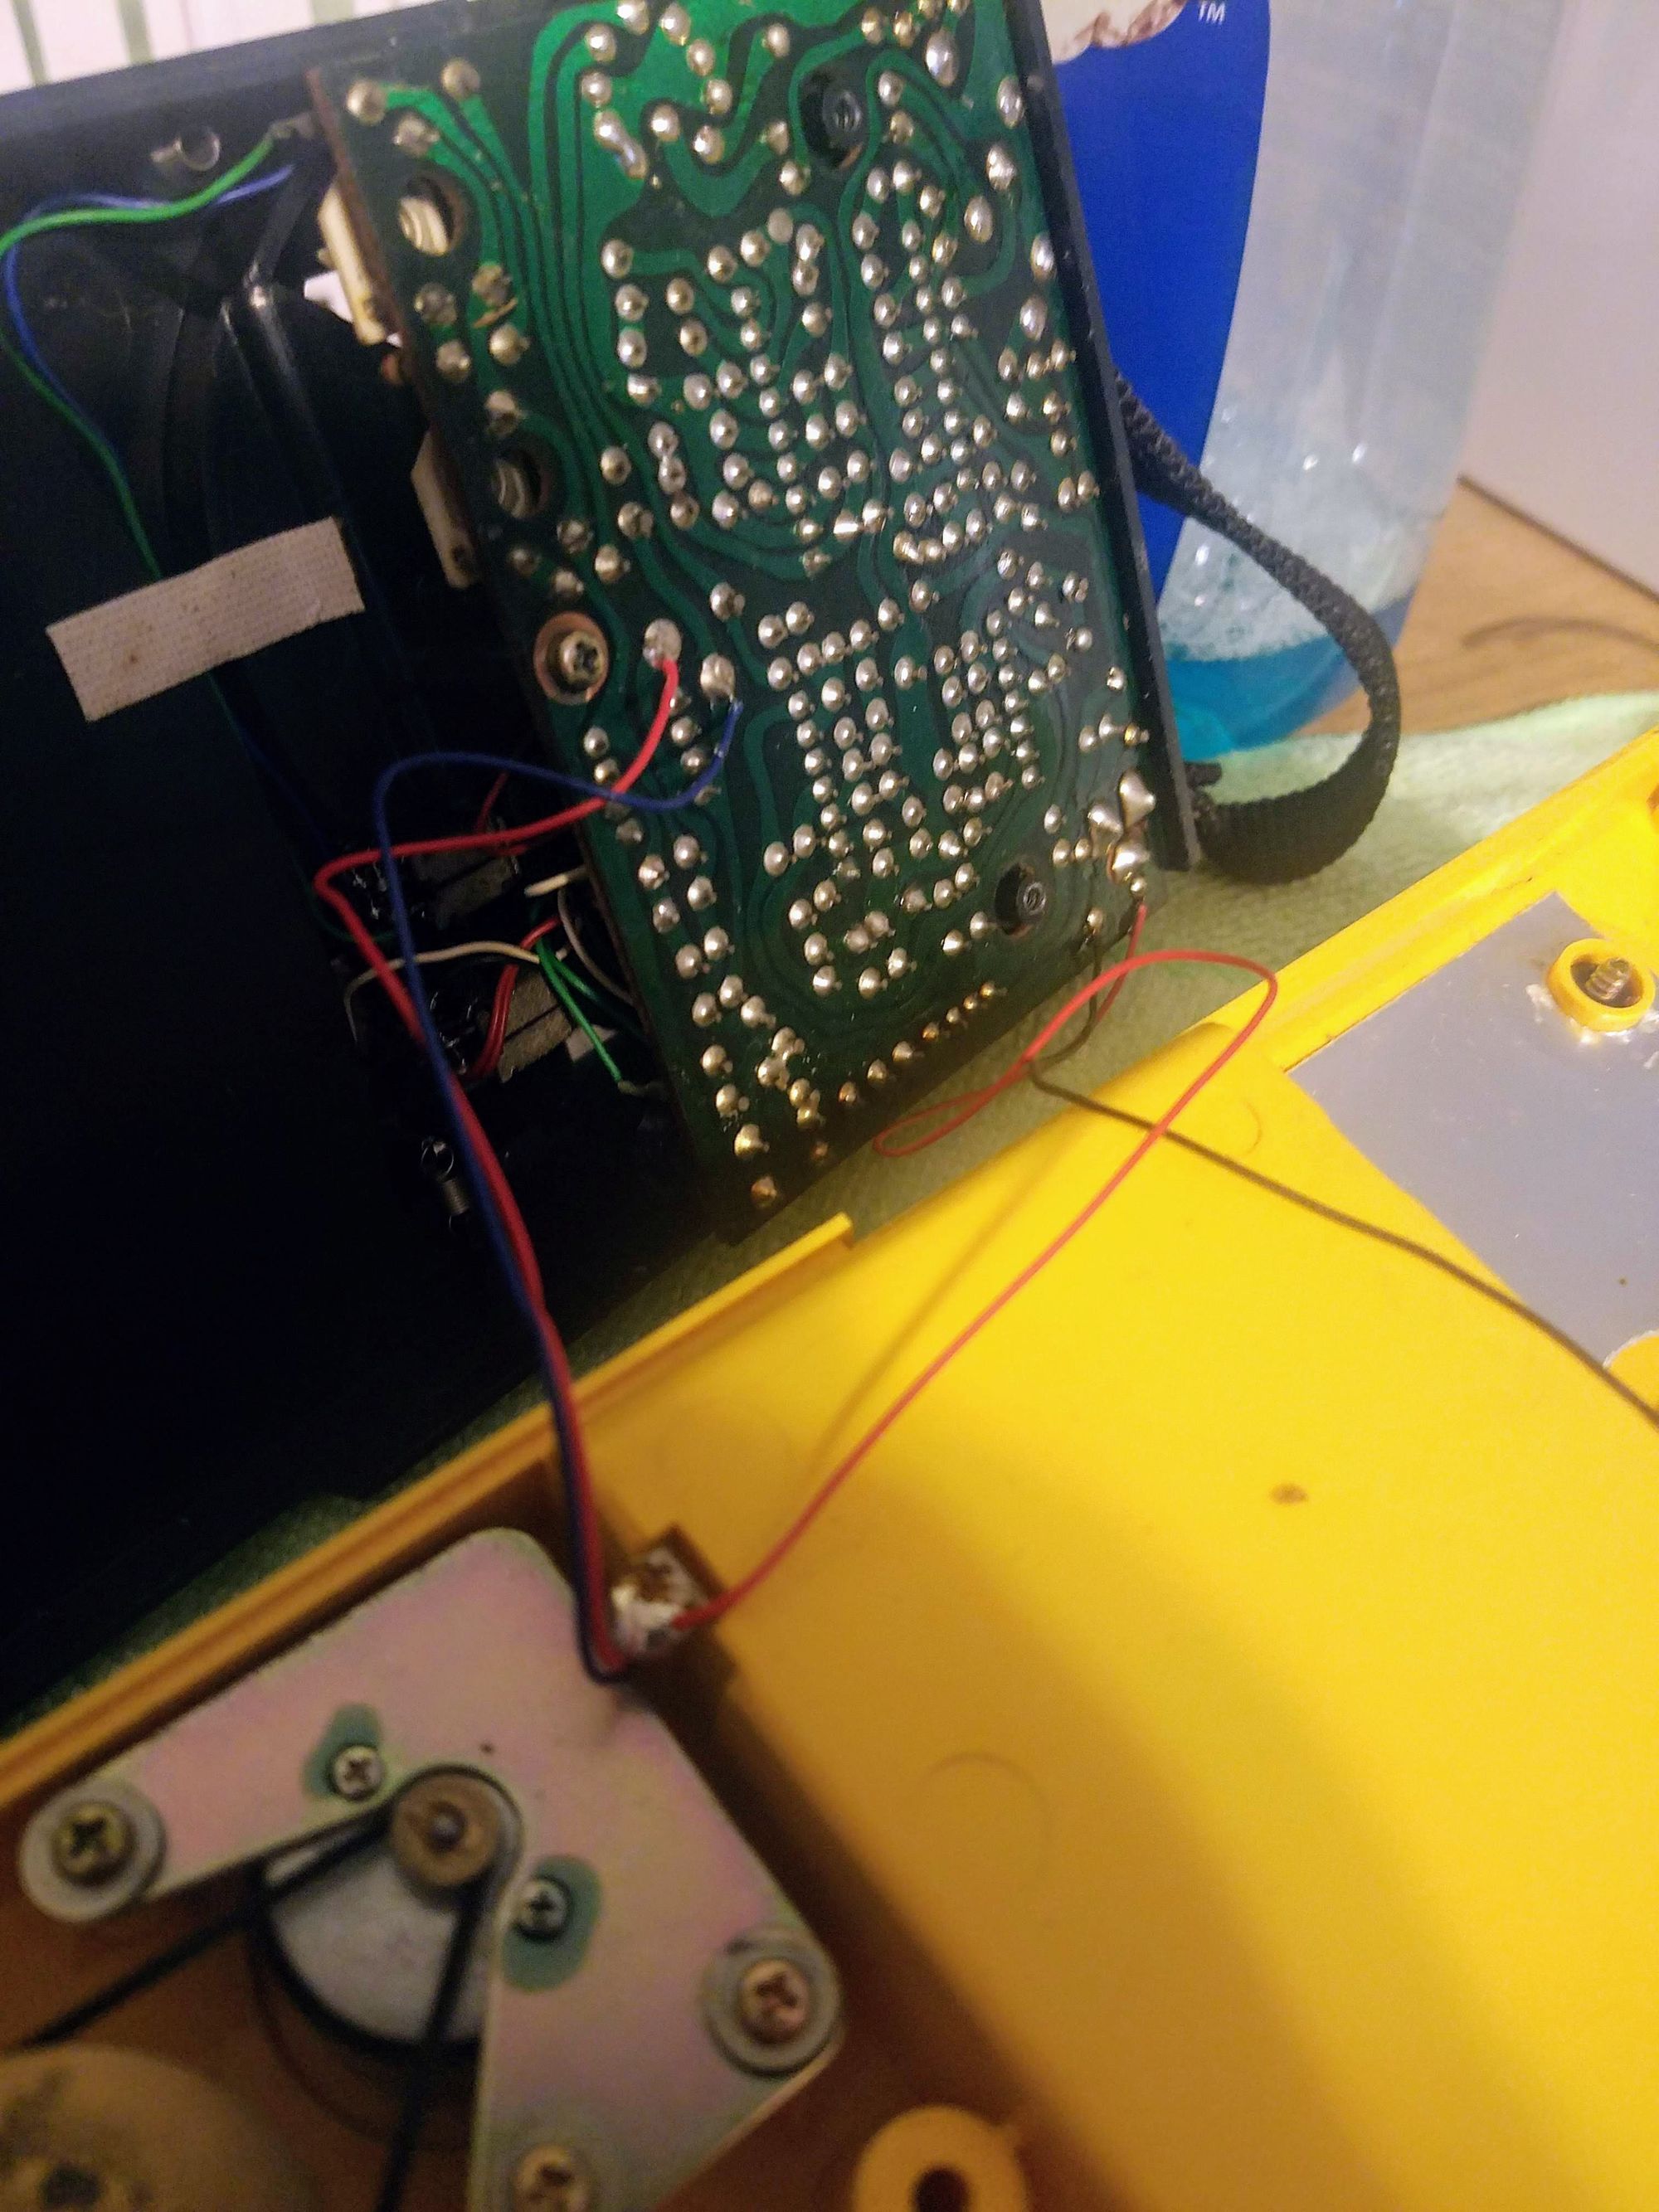
Needle nose pliers were used to disconnect the wires from the top of the PC, making sure to grip the wires by the harness and to not yank from the wire itself. After disconnecting the wires, the PCB was free from the turntable and I set it up to desolder the capacitors. I worked through desoldering and replacing the capacitors down the board. If some of the capacitors you have are larger than the ones you are replacing you may need to pay special attention to the path the tonearm takes and mount some capacitors at a slight angle. There is a plastic finger piece on the tonearm that extends down into the PCB area during play and tall capacitors mounted straight up will obstruct the tonearm during travel. This is a issue I ran into as I did not pay particular attention to the dimensions of the replacement capacitors. Once all the capacitors and the barrel jack were replaced, the belts were replaced, and the appropriate points were lubricated the entire unit was closed up, the stylus was replaced, and a record was spun on it to test it out.
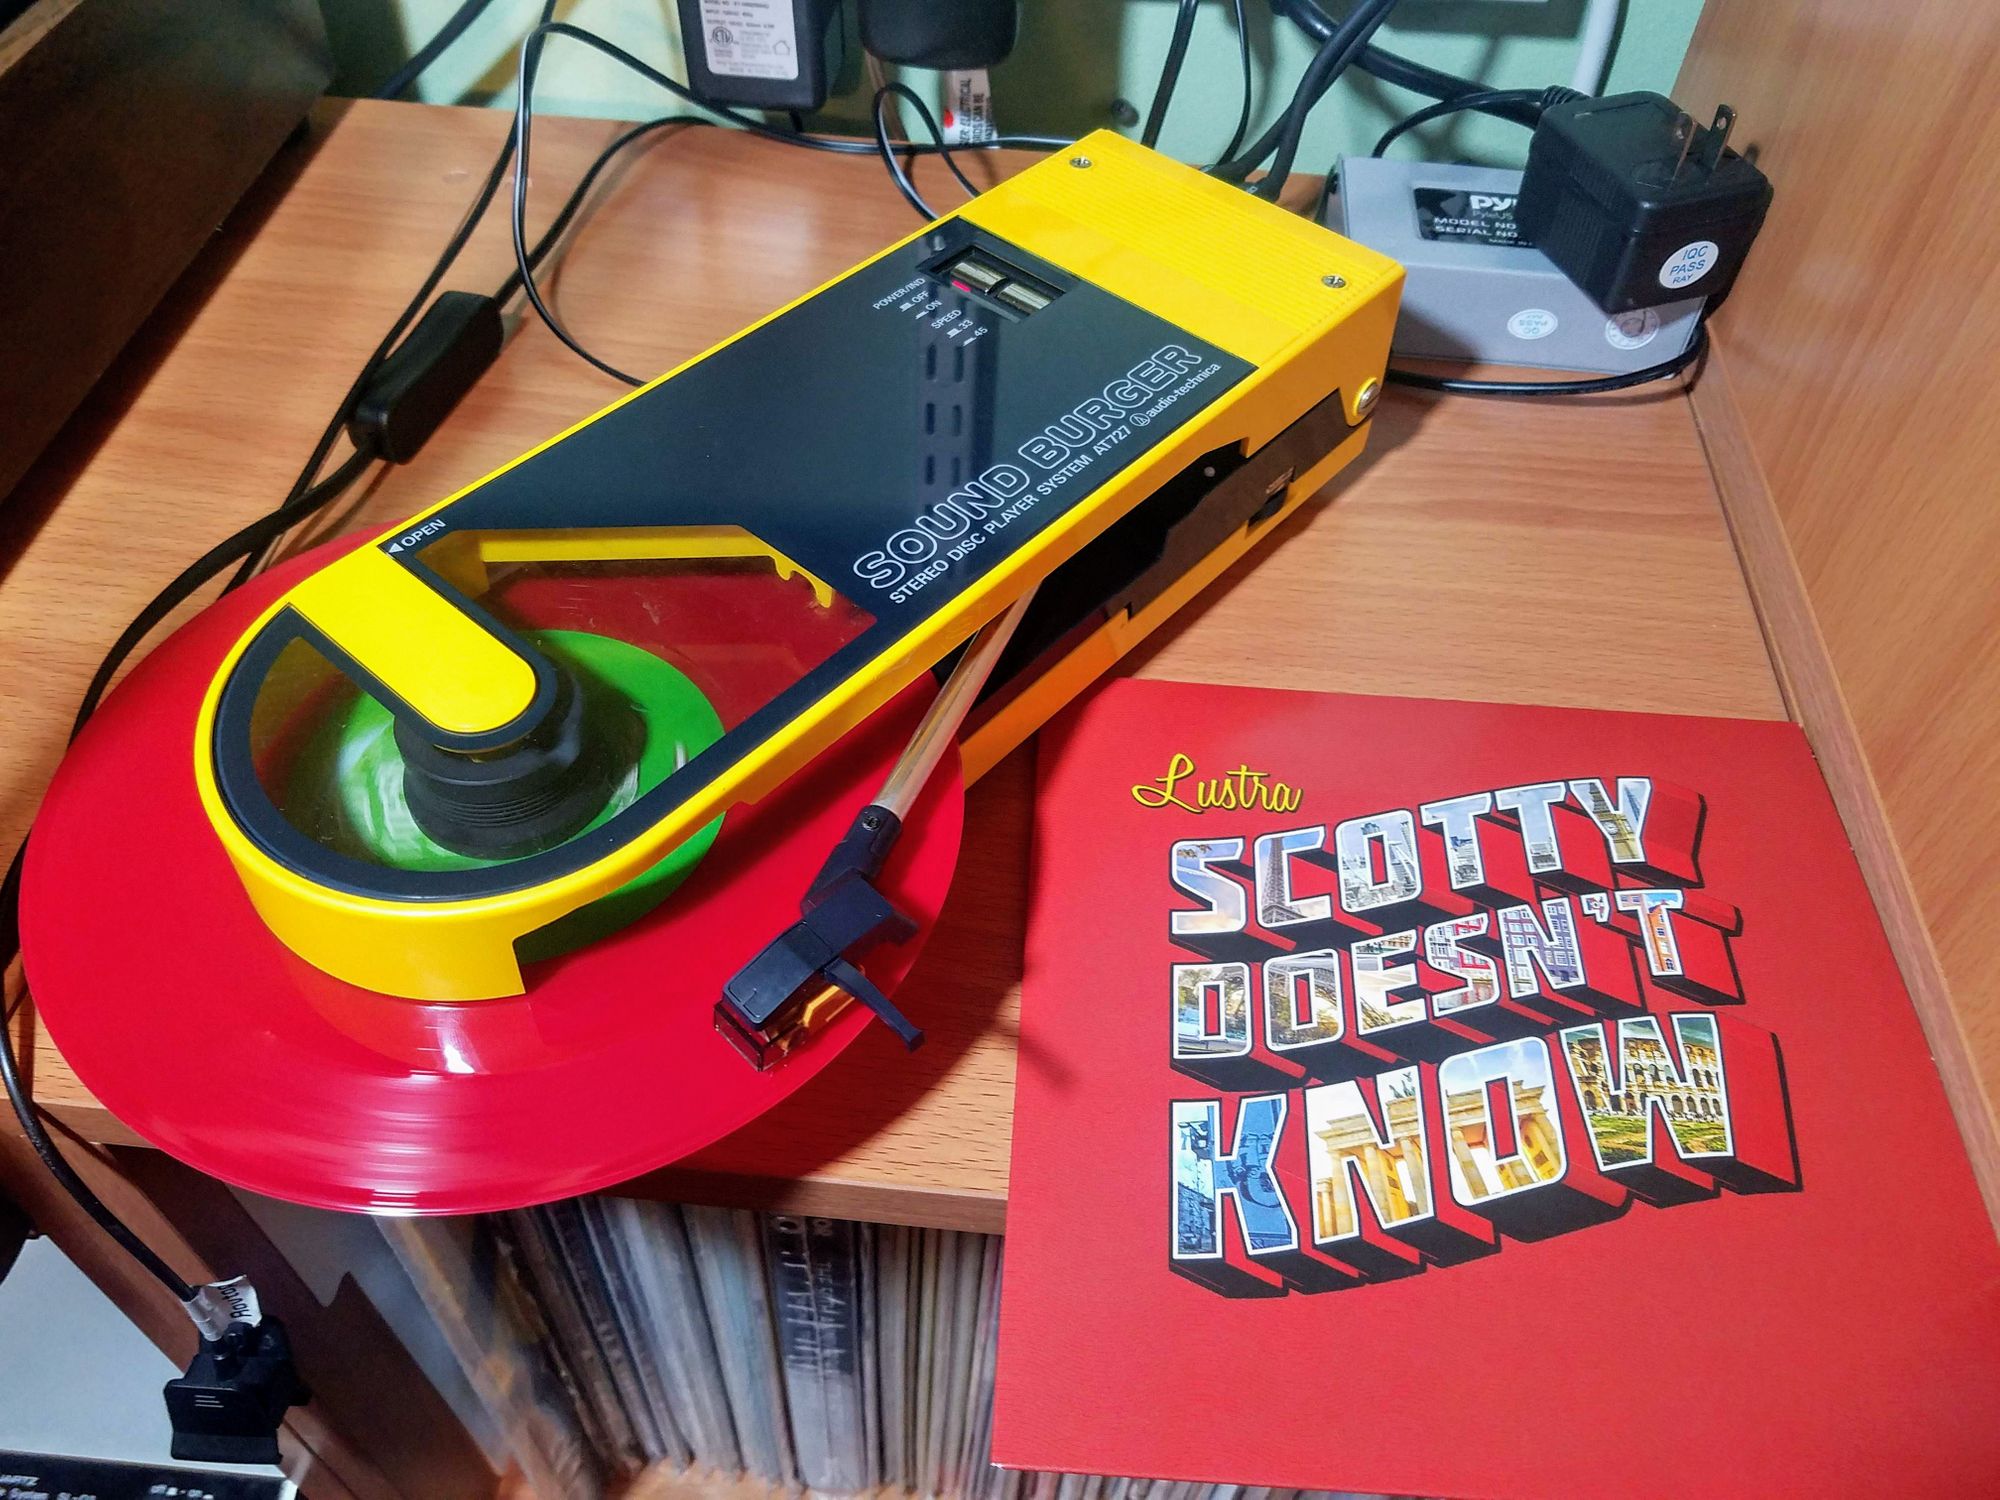
All in all it turned out great.
